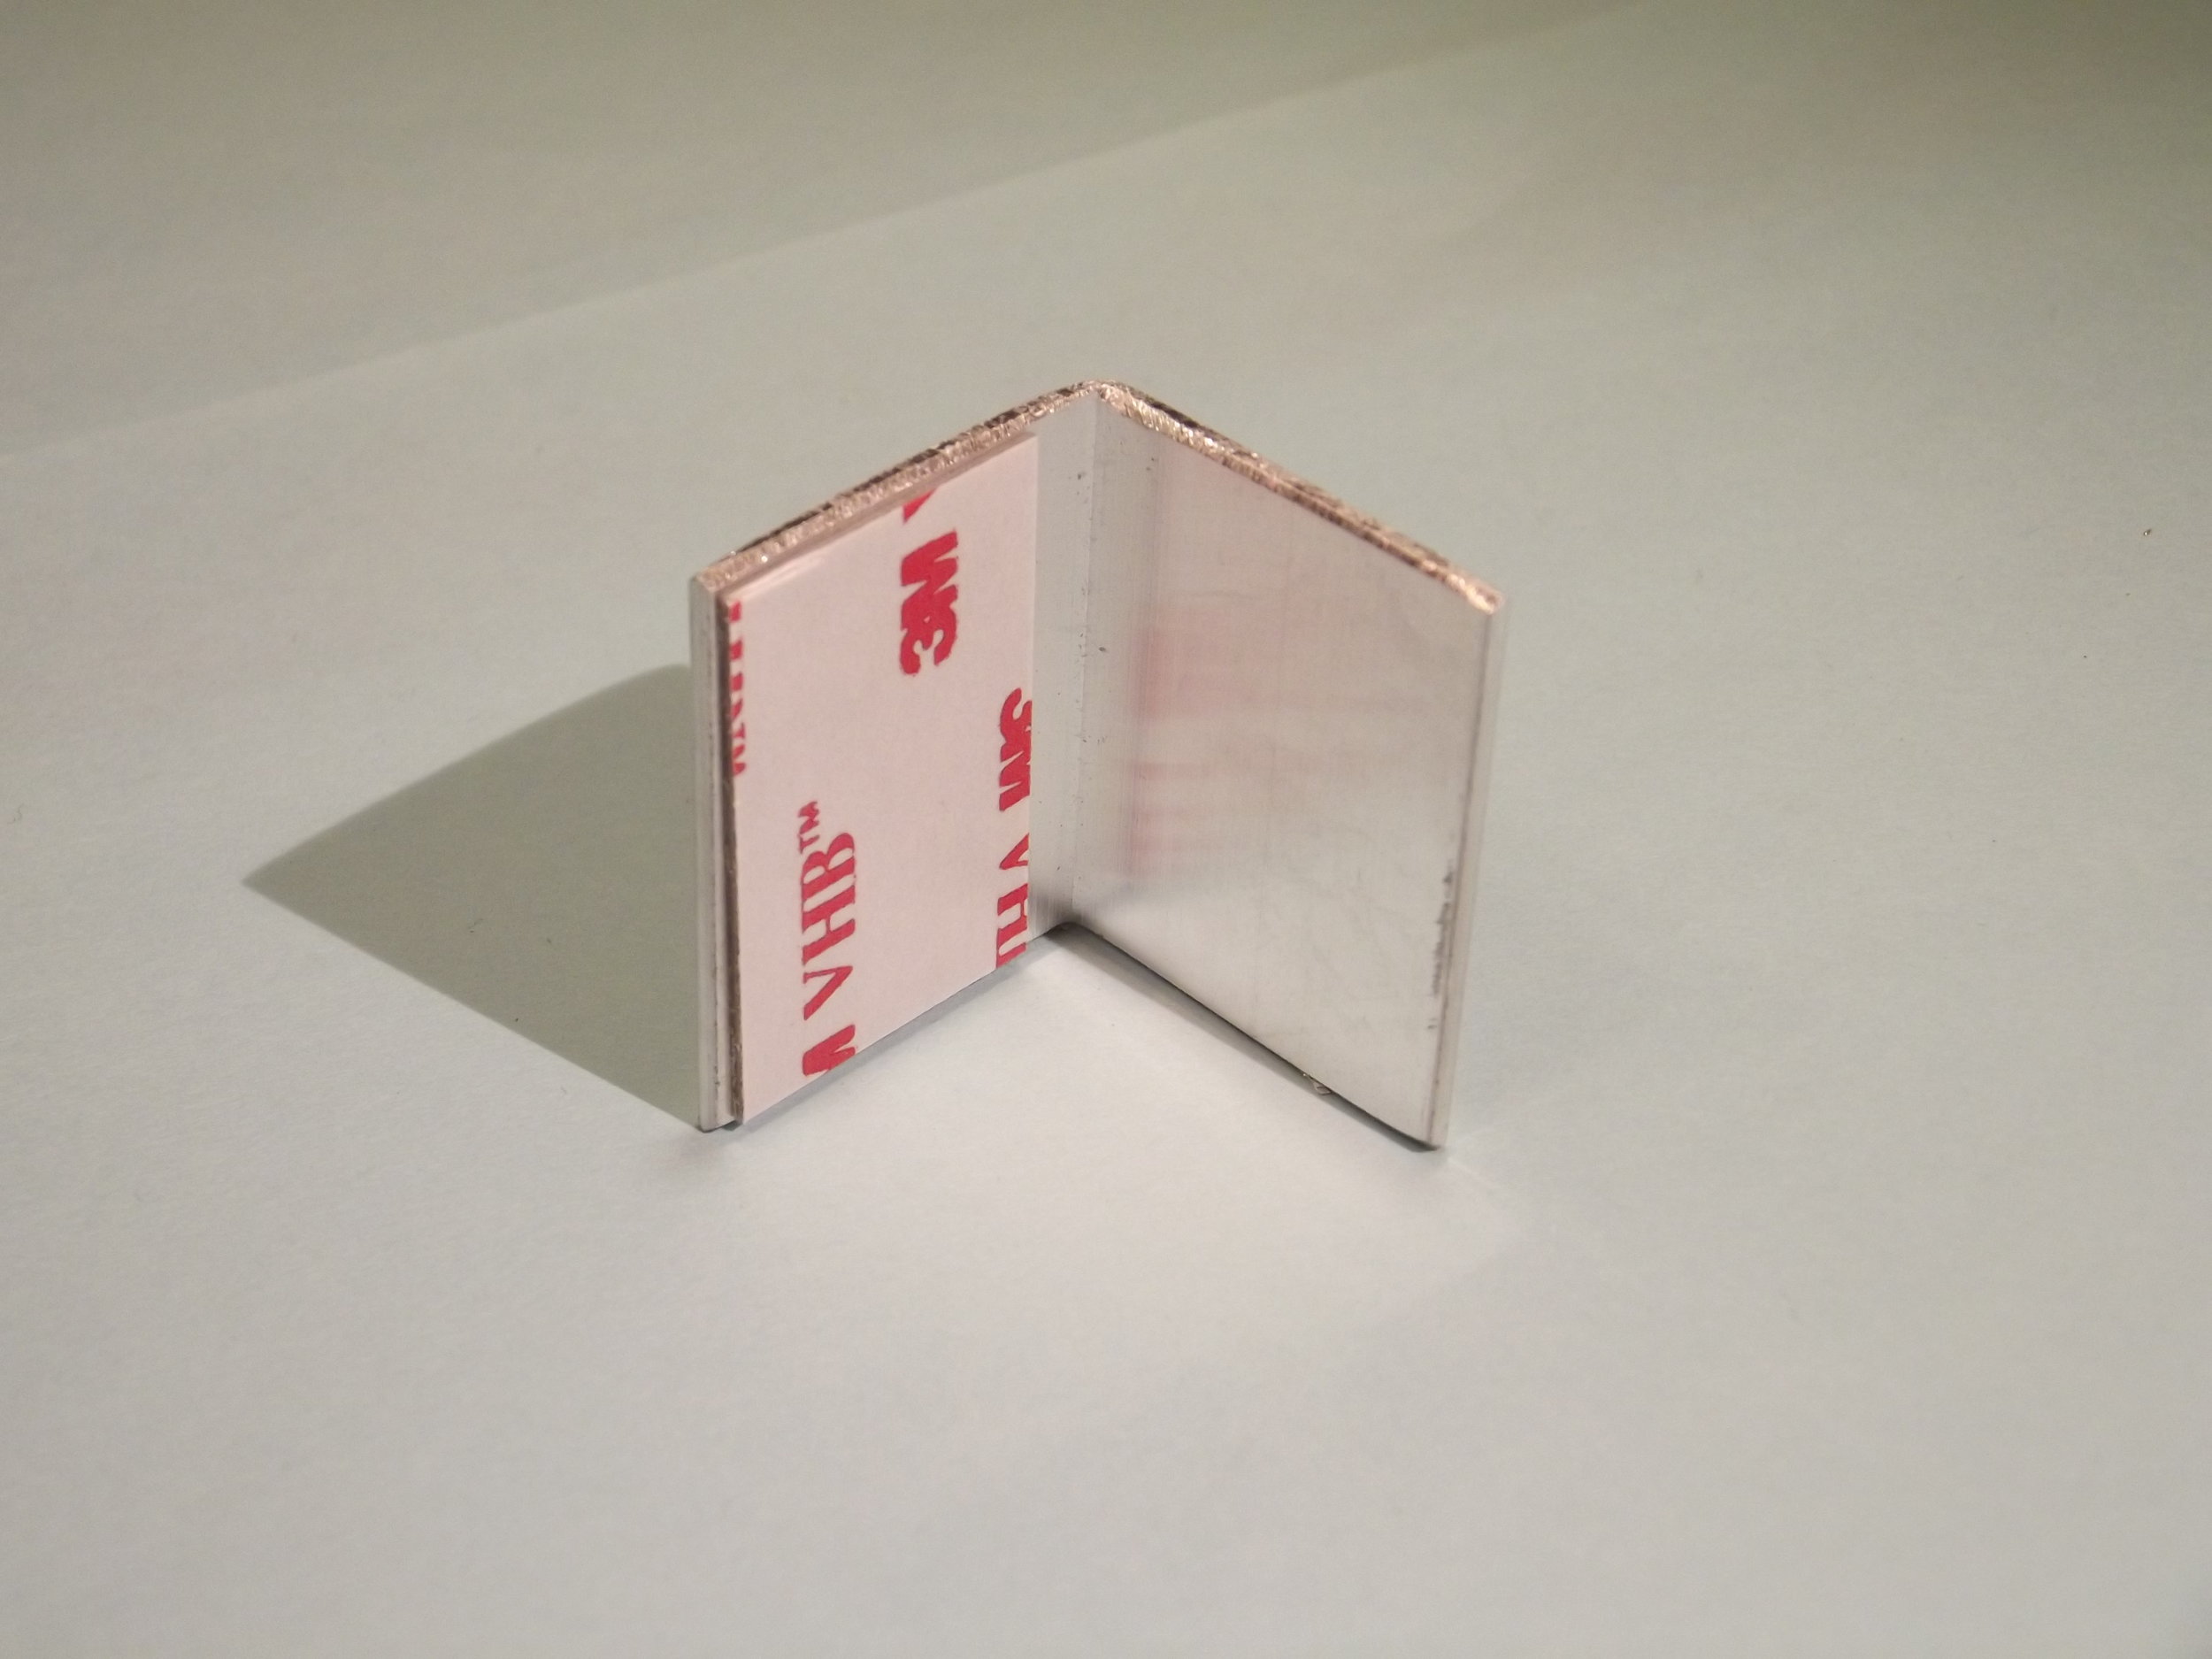
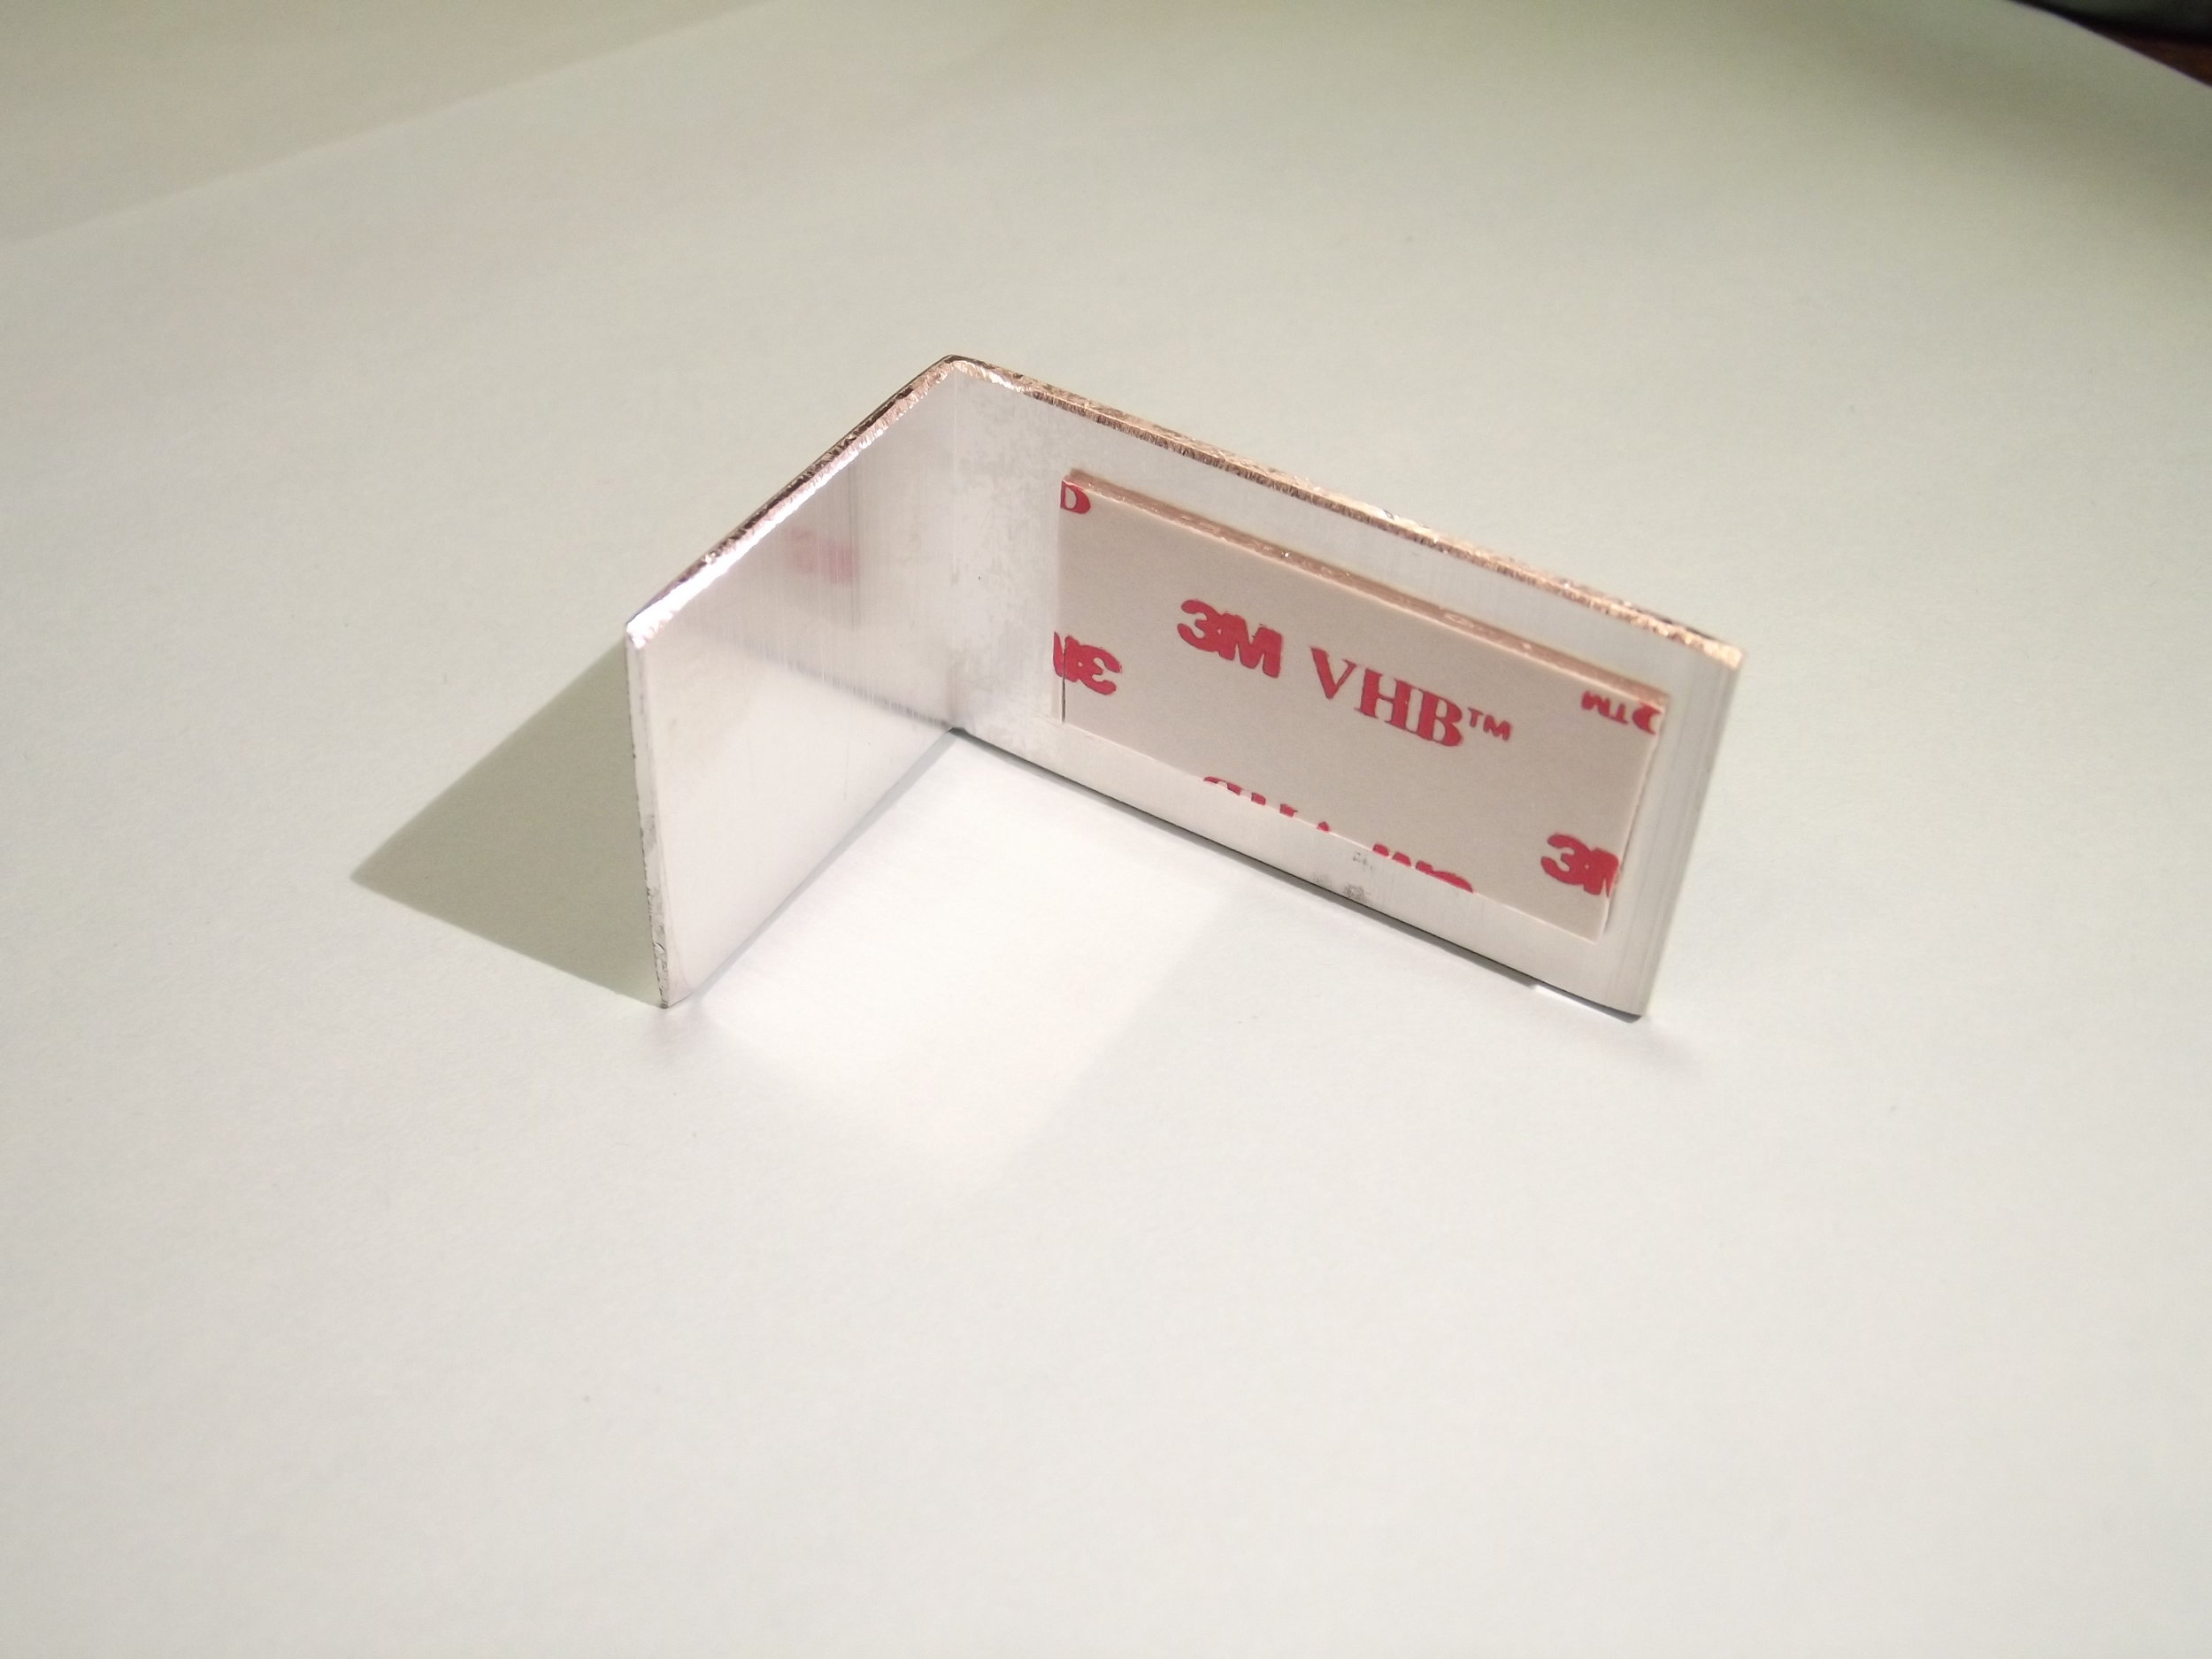
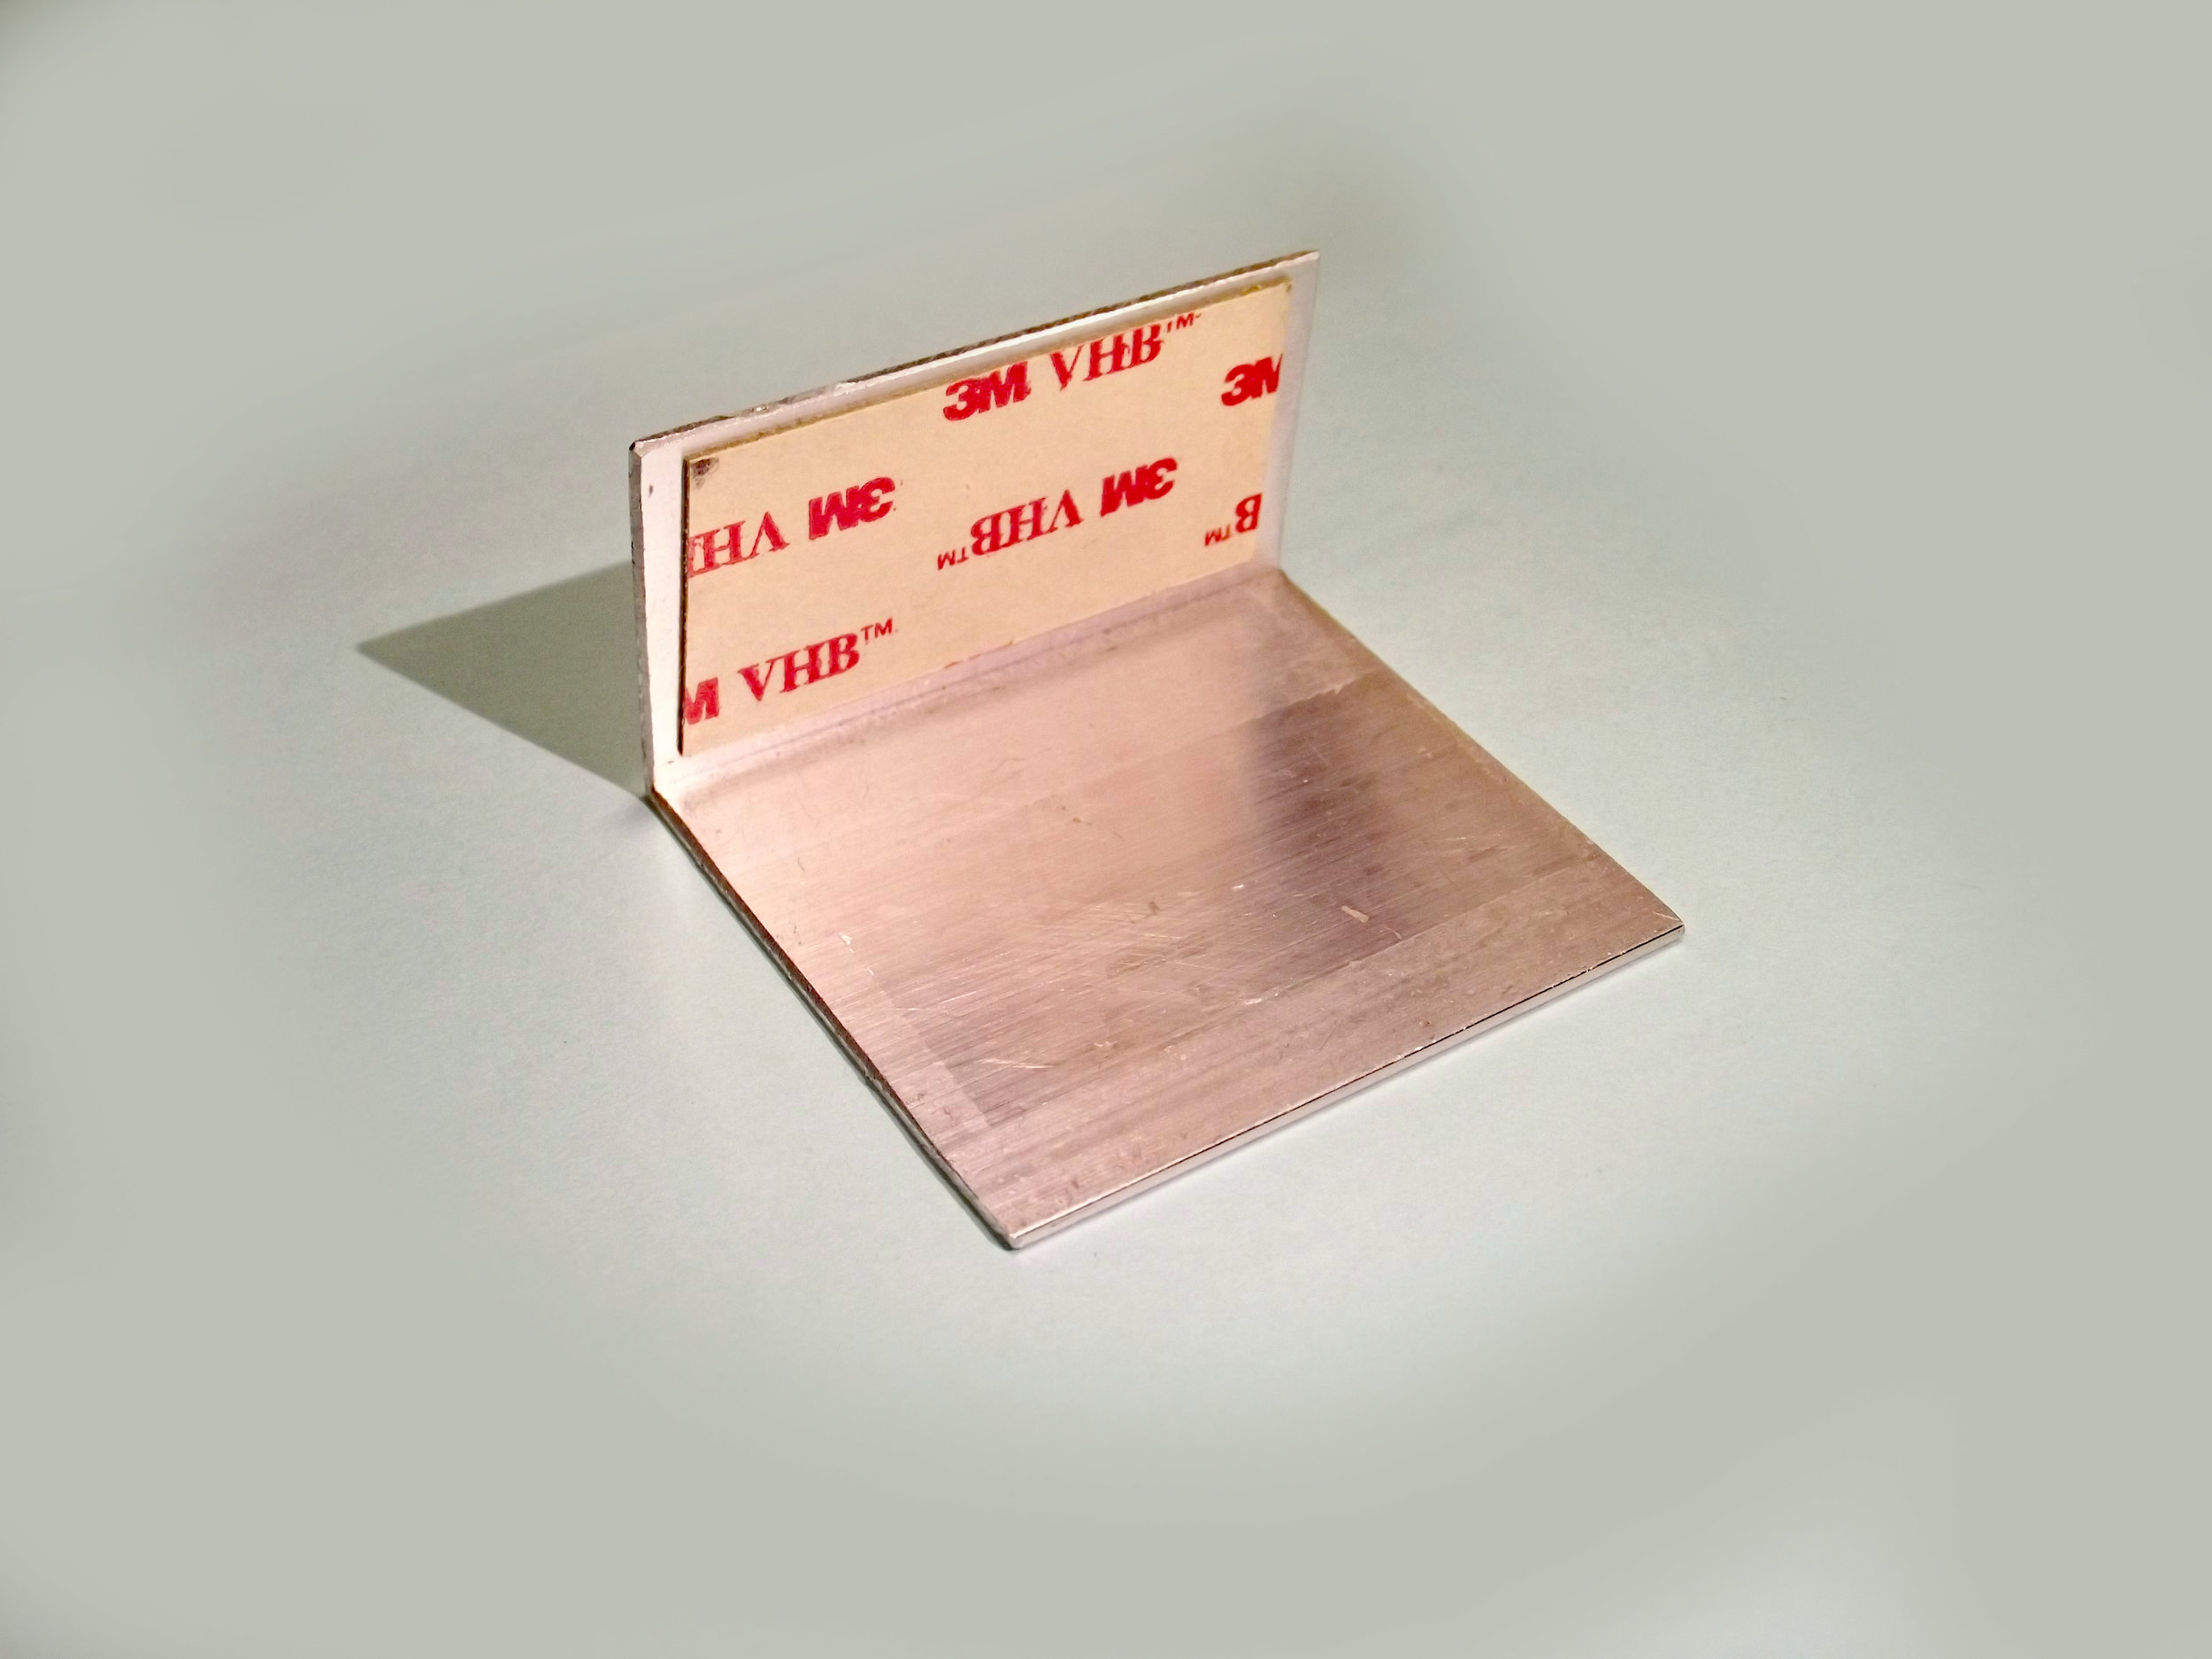
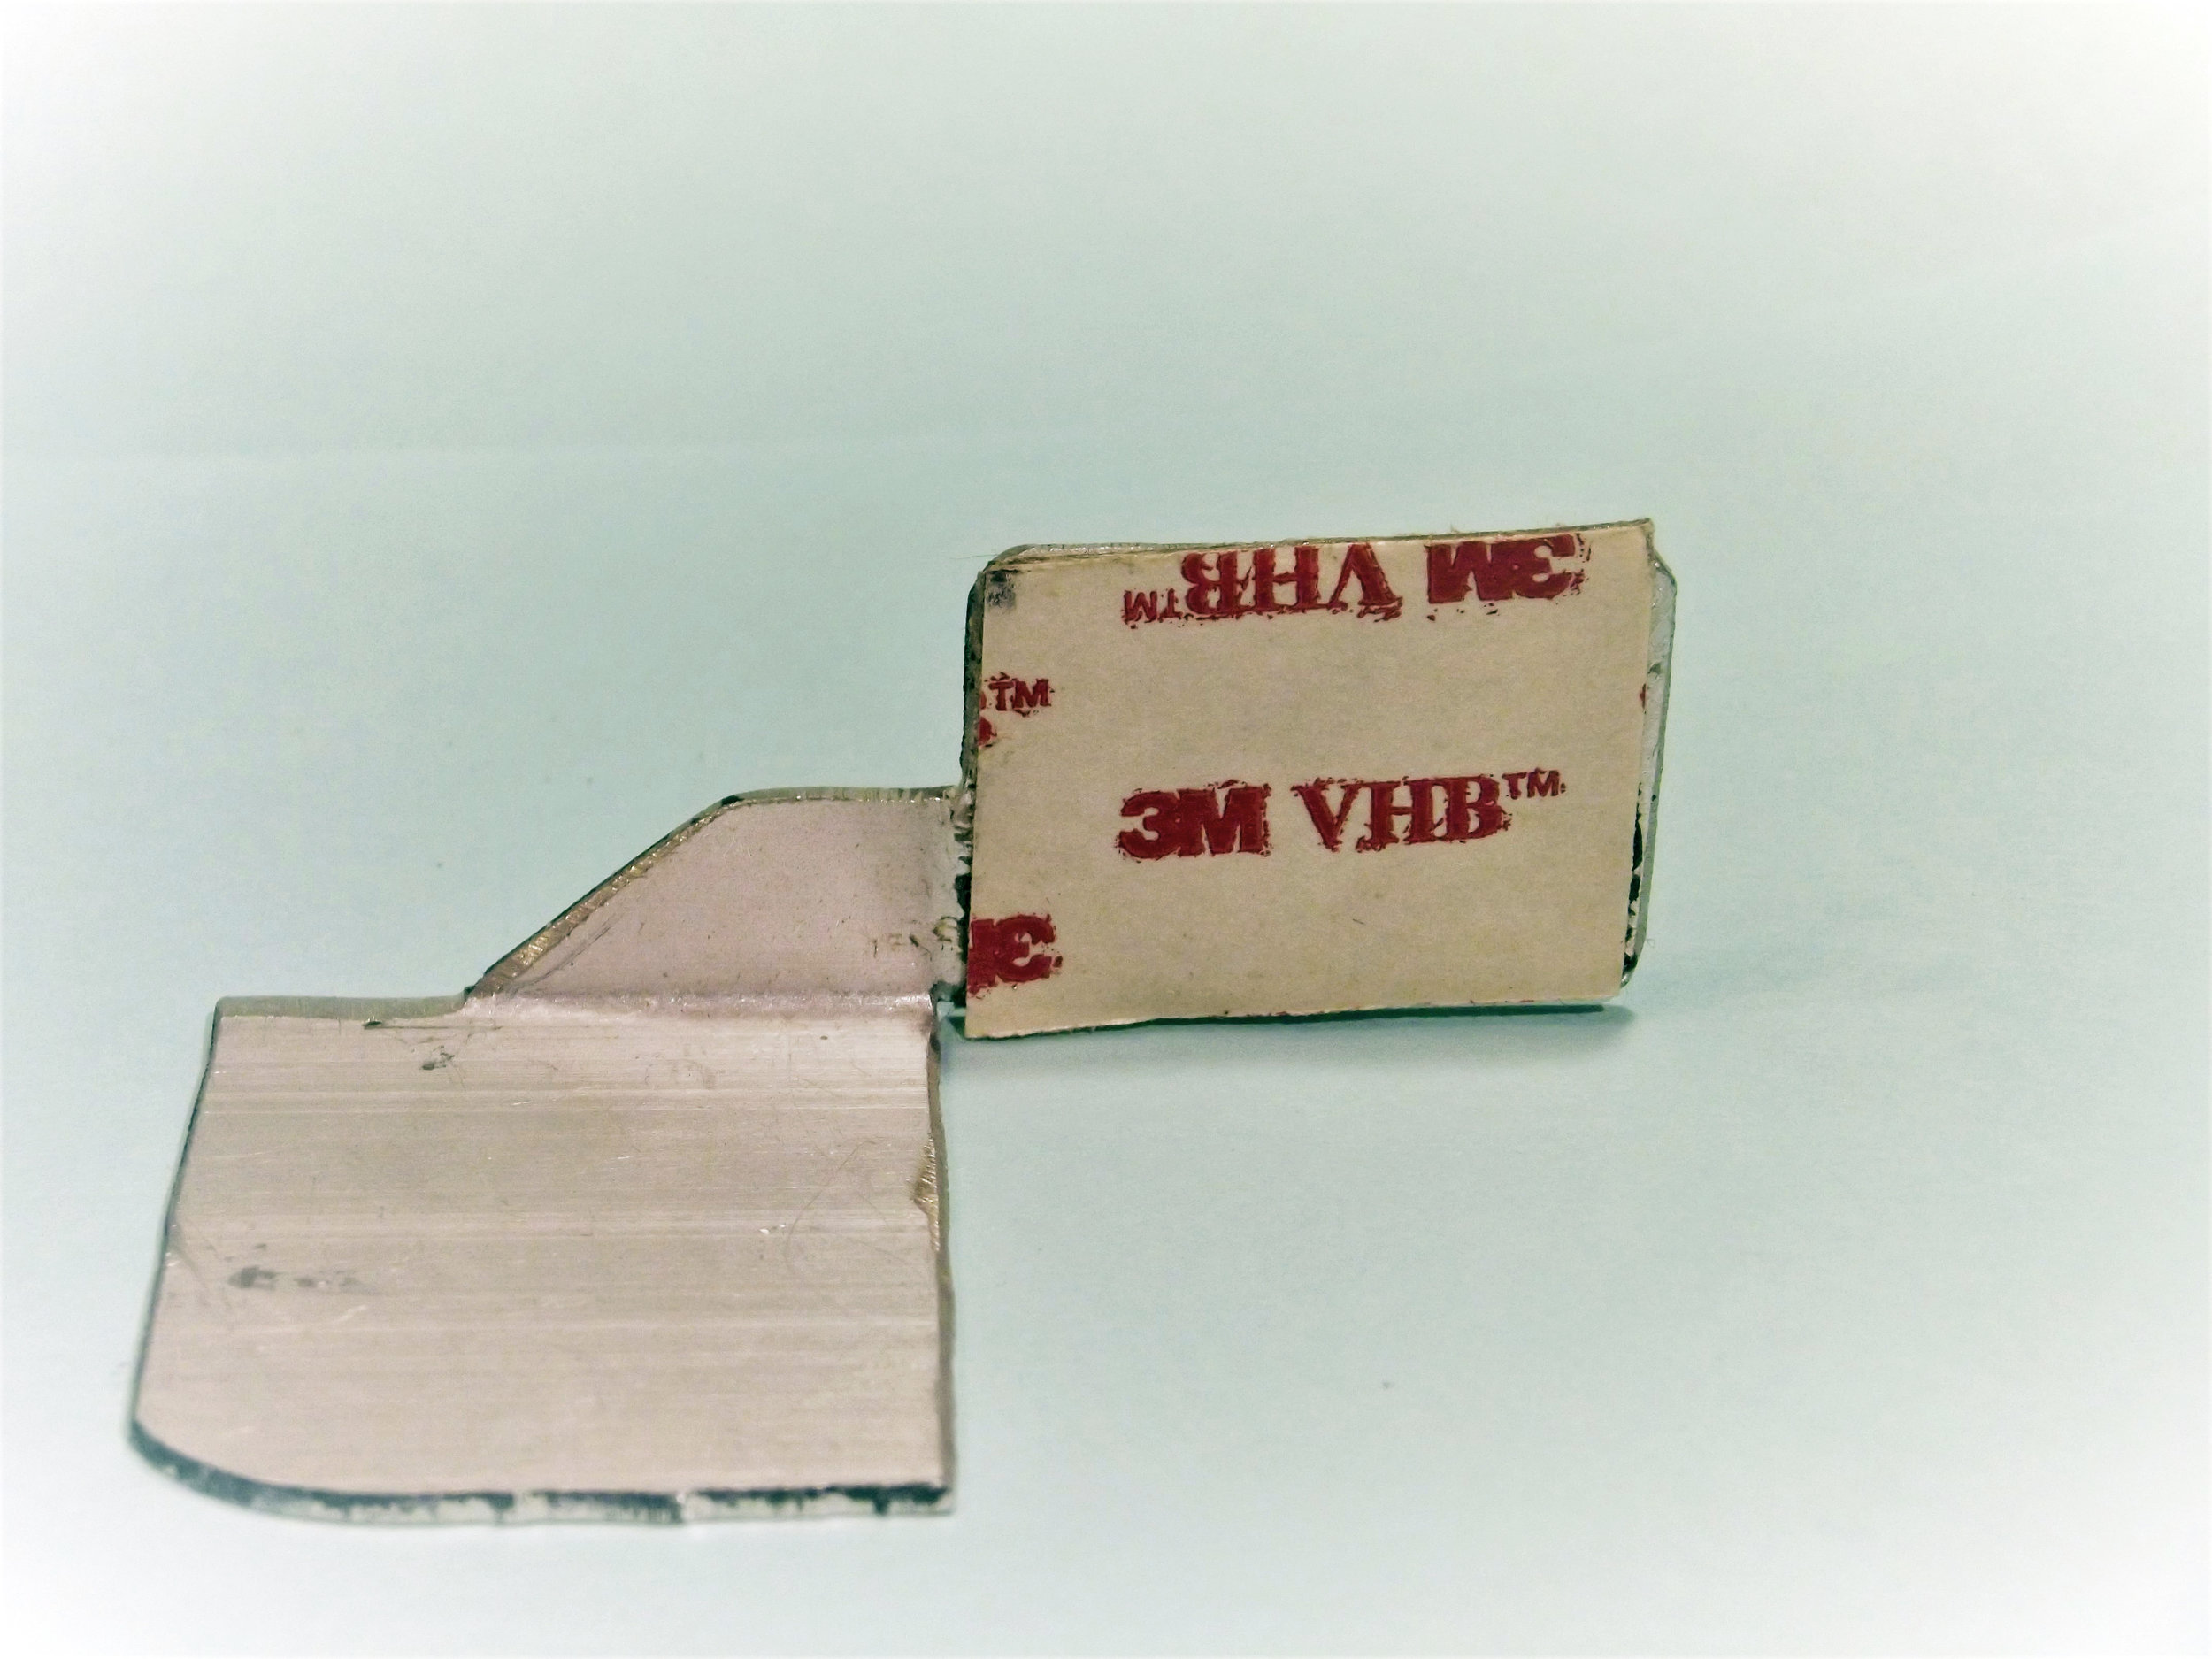
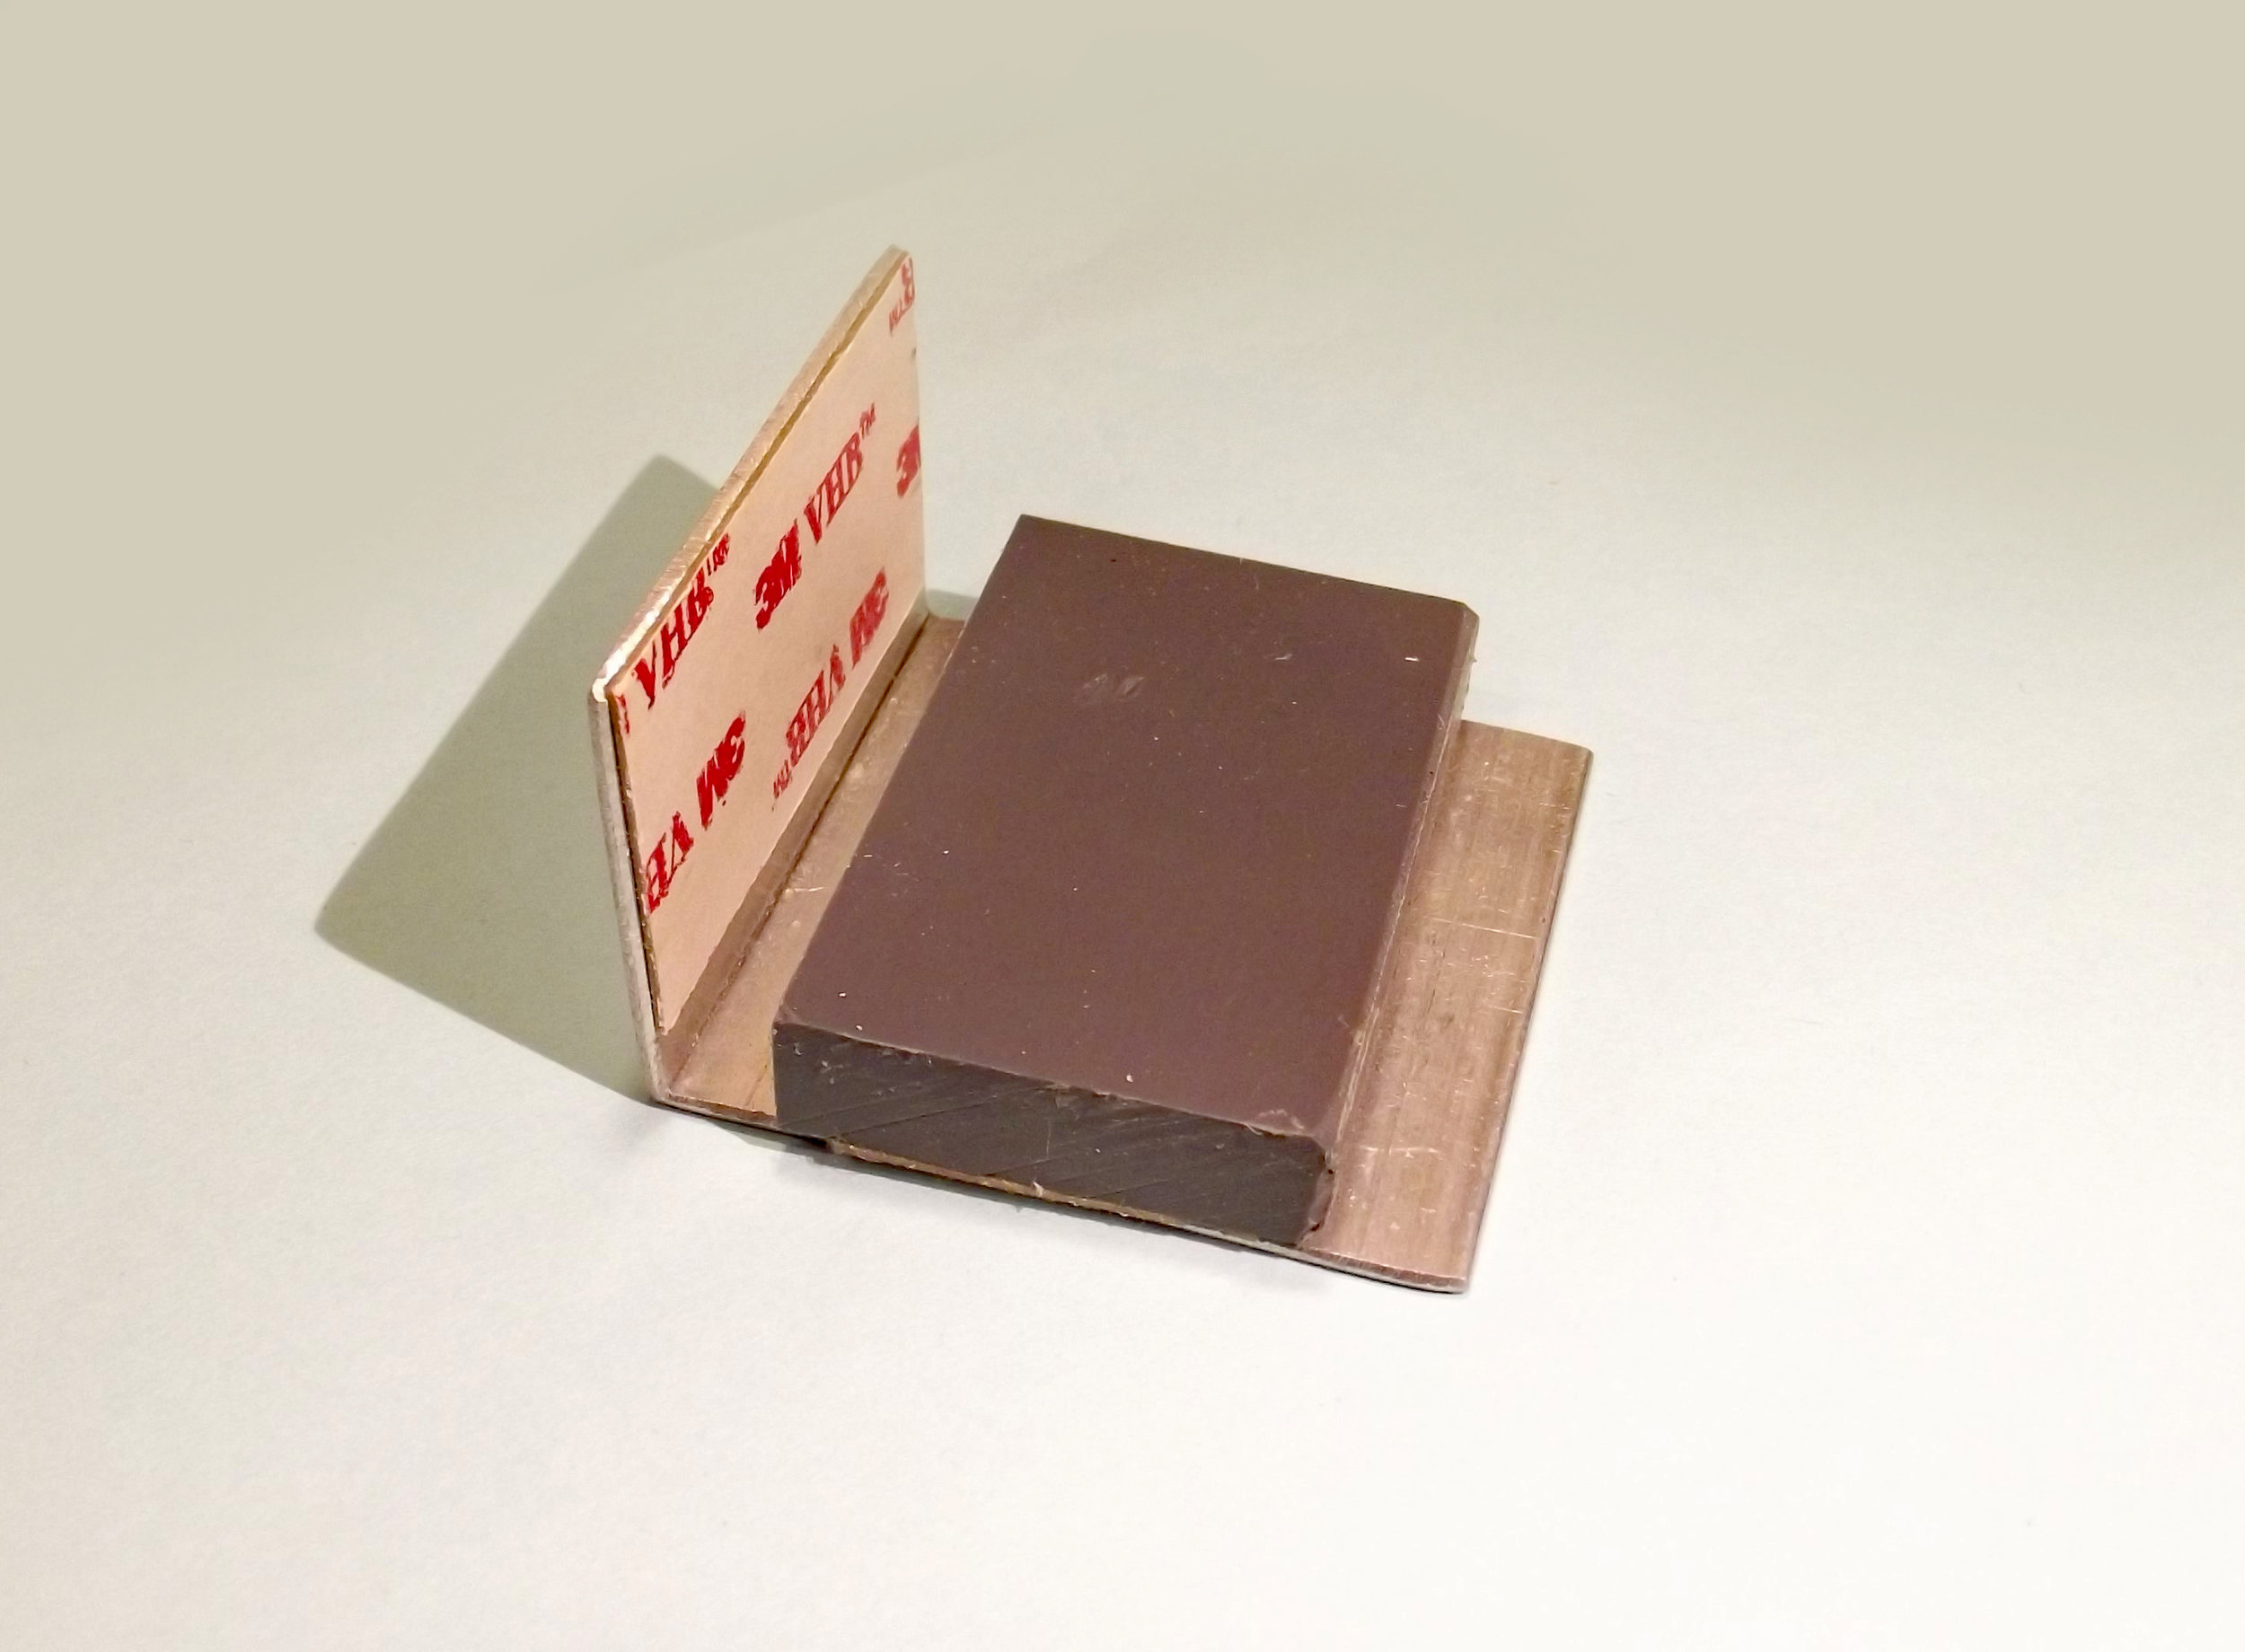
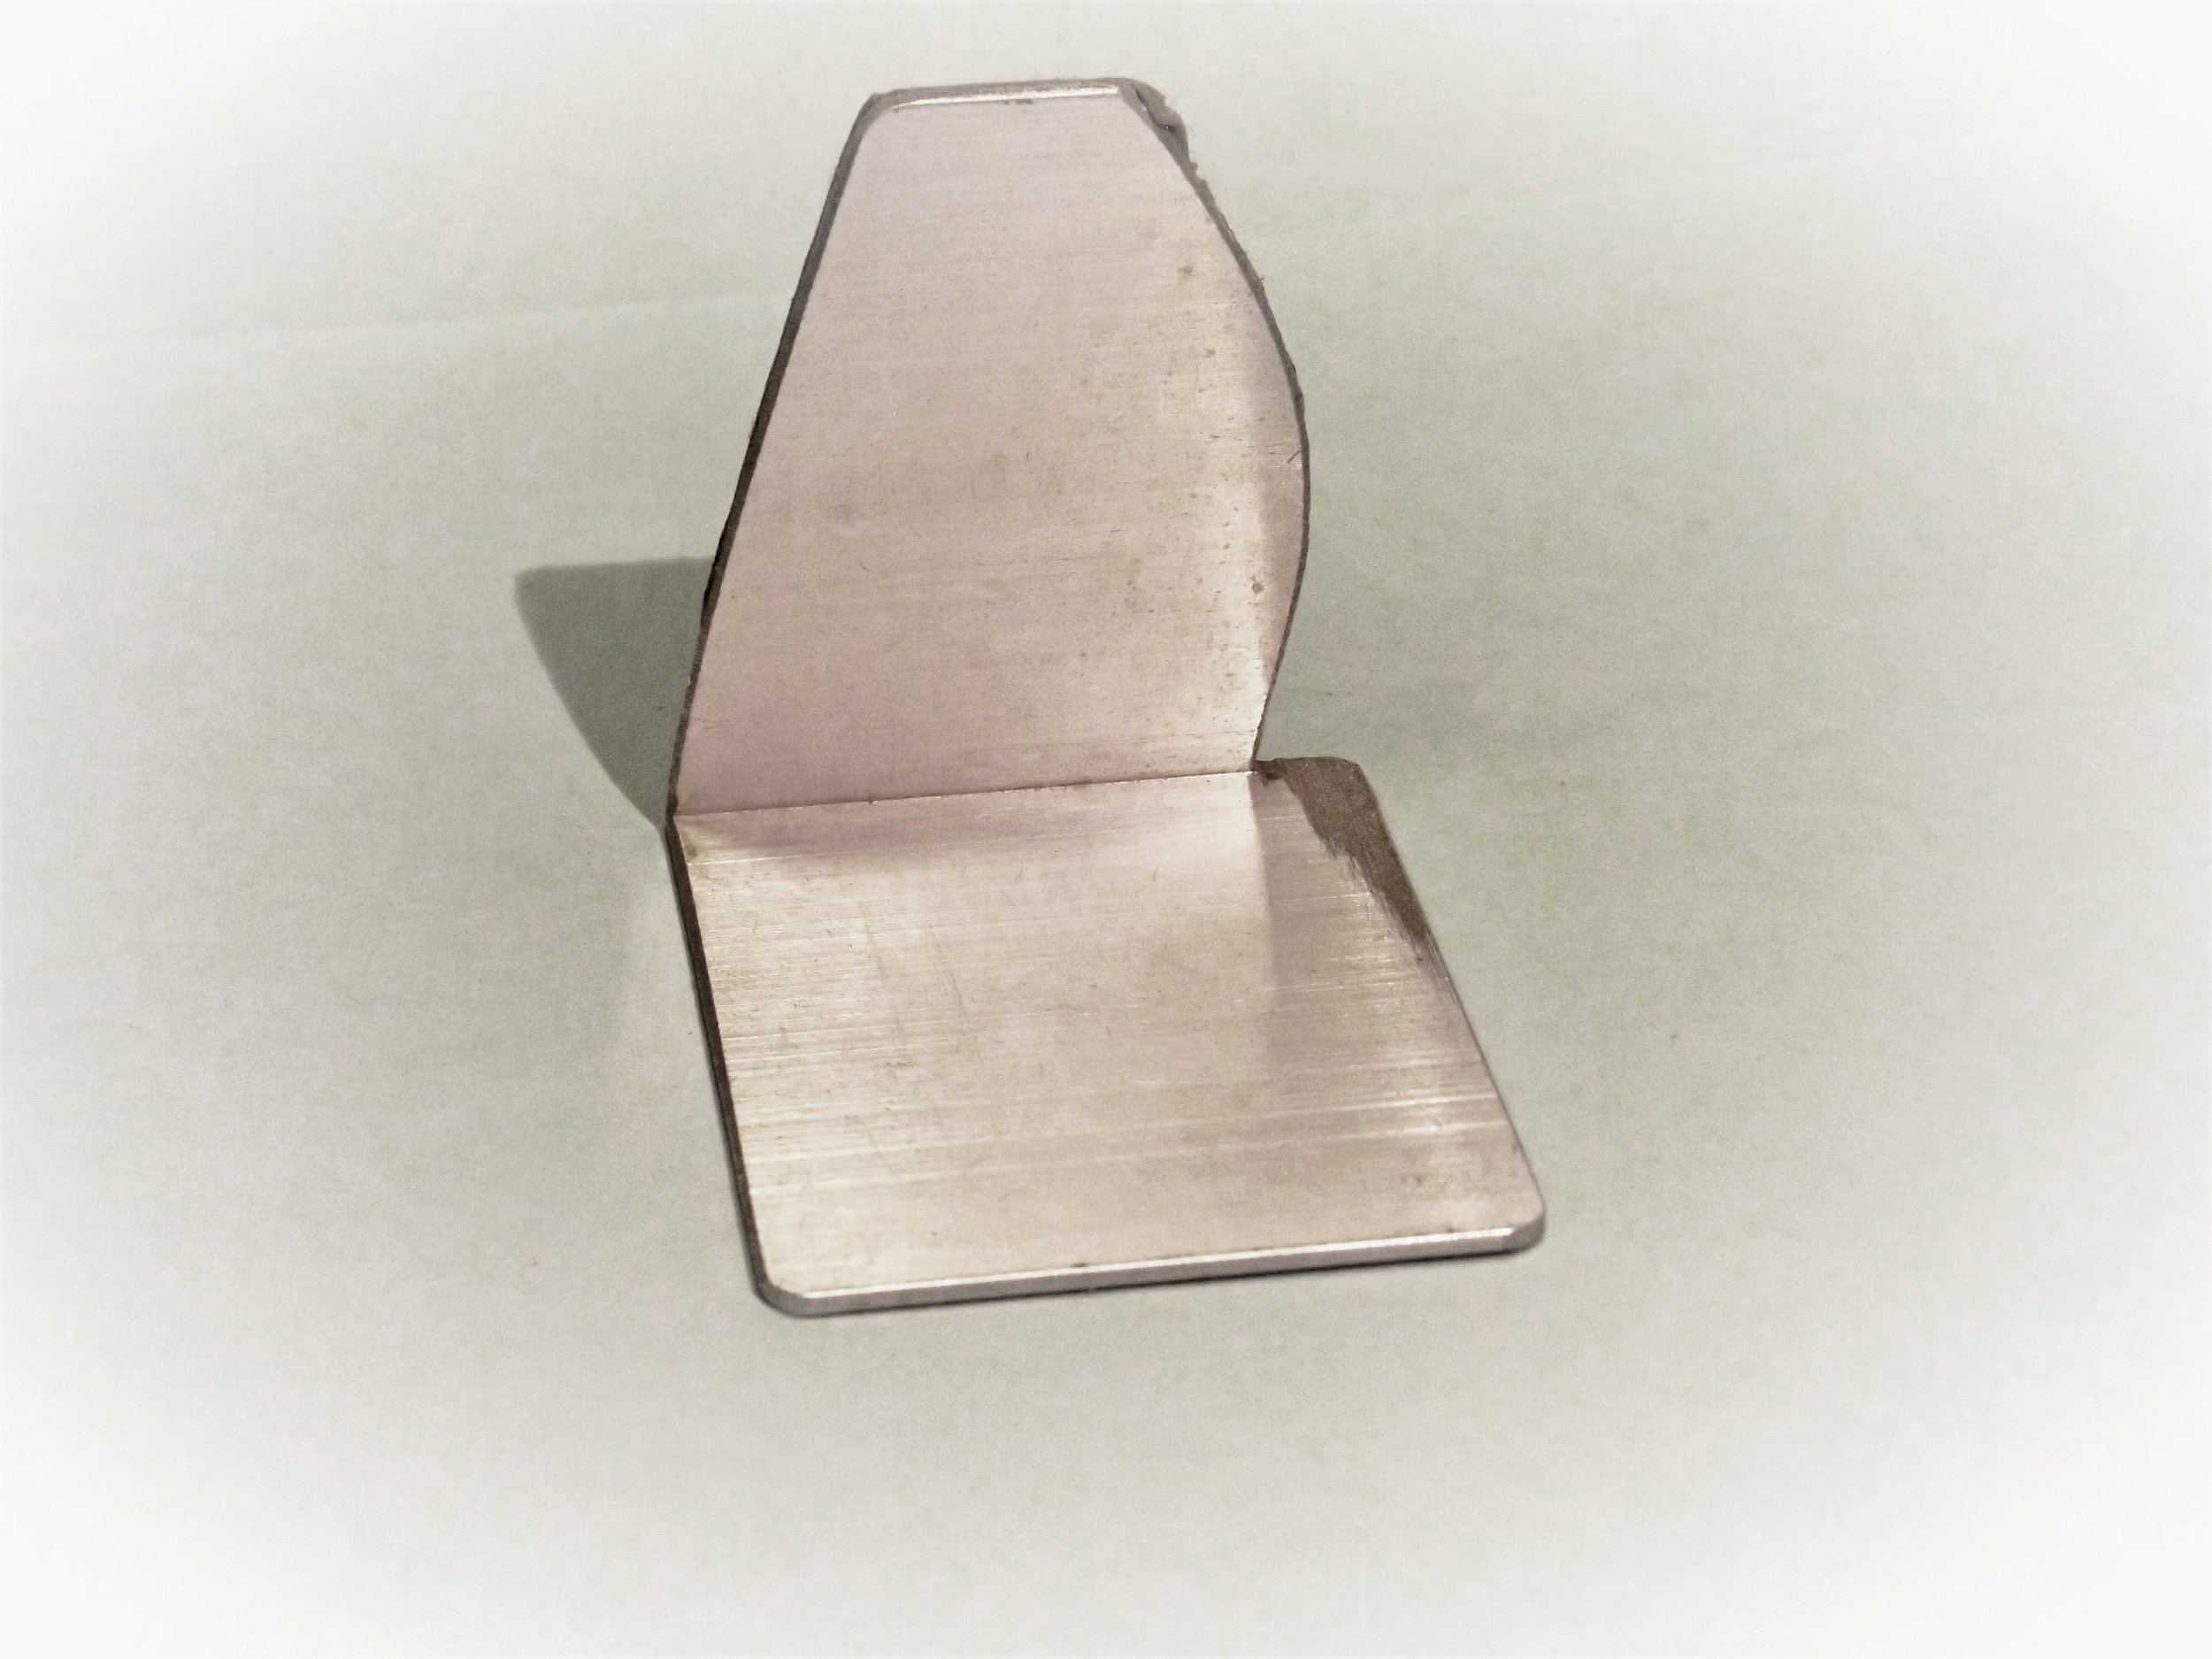
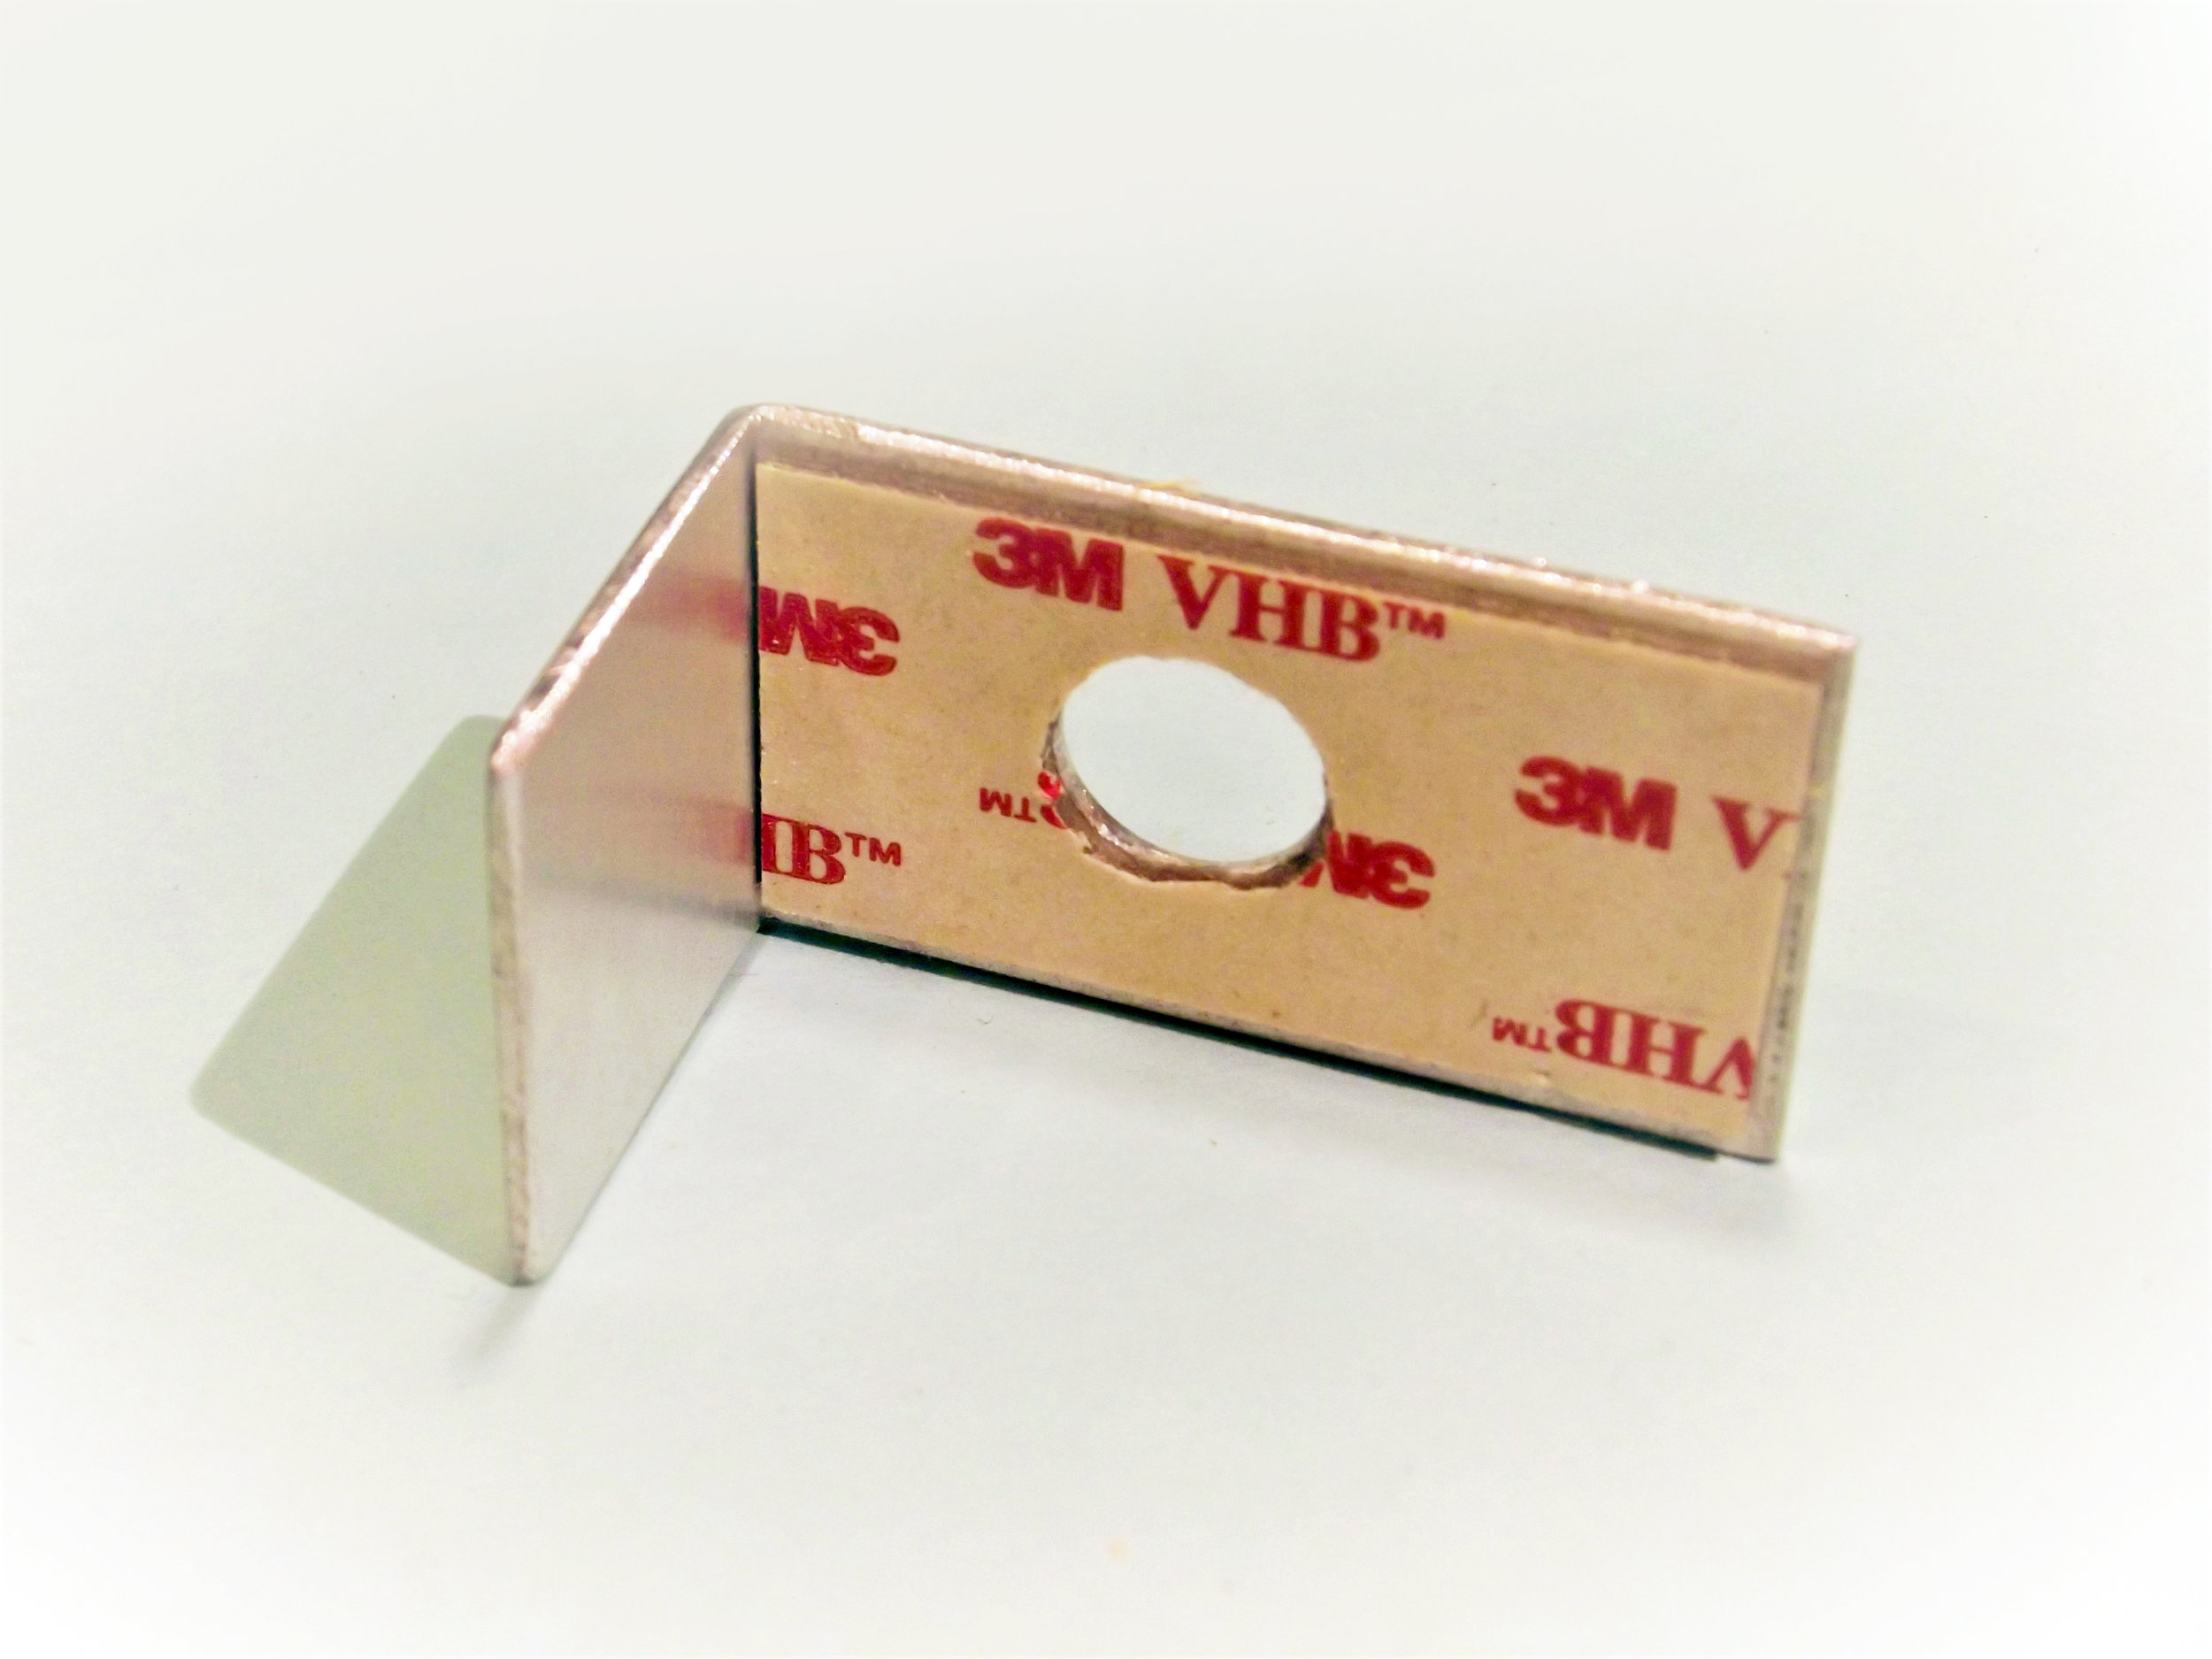
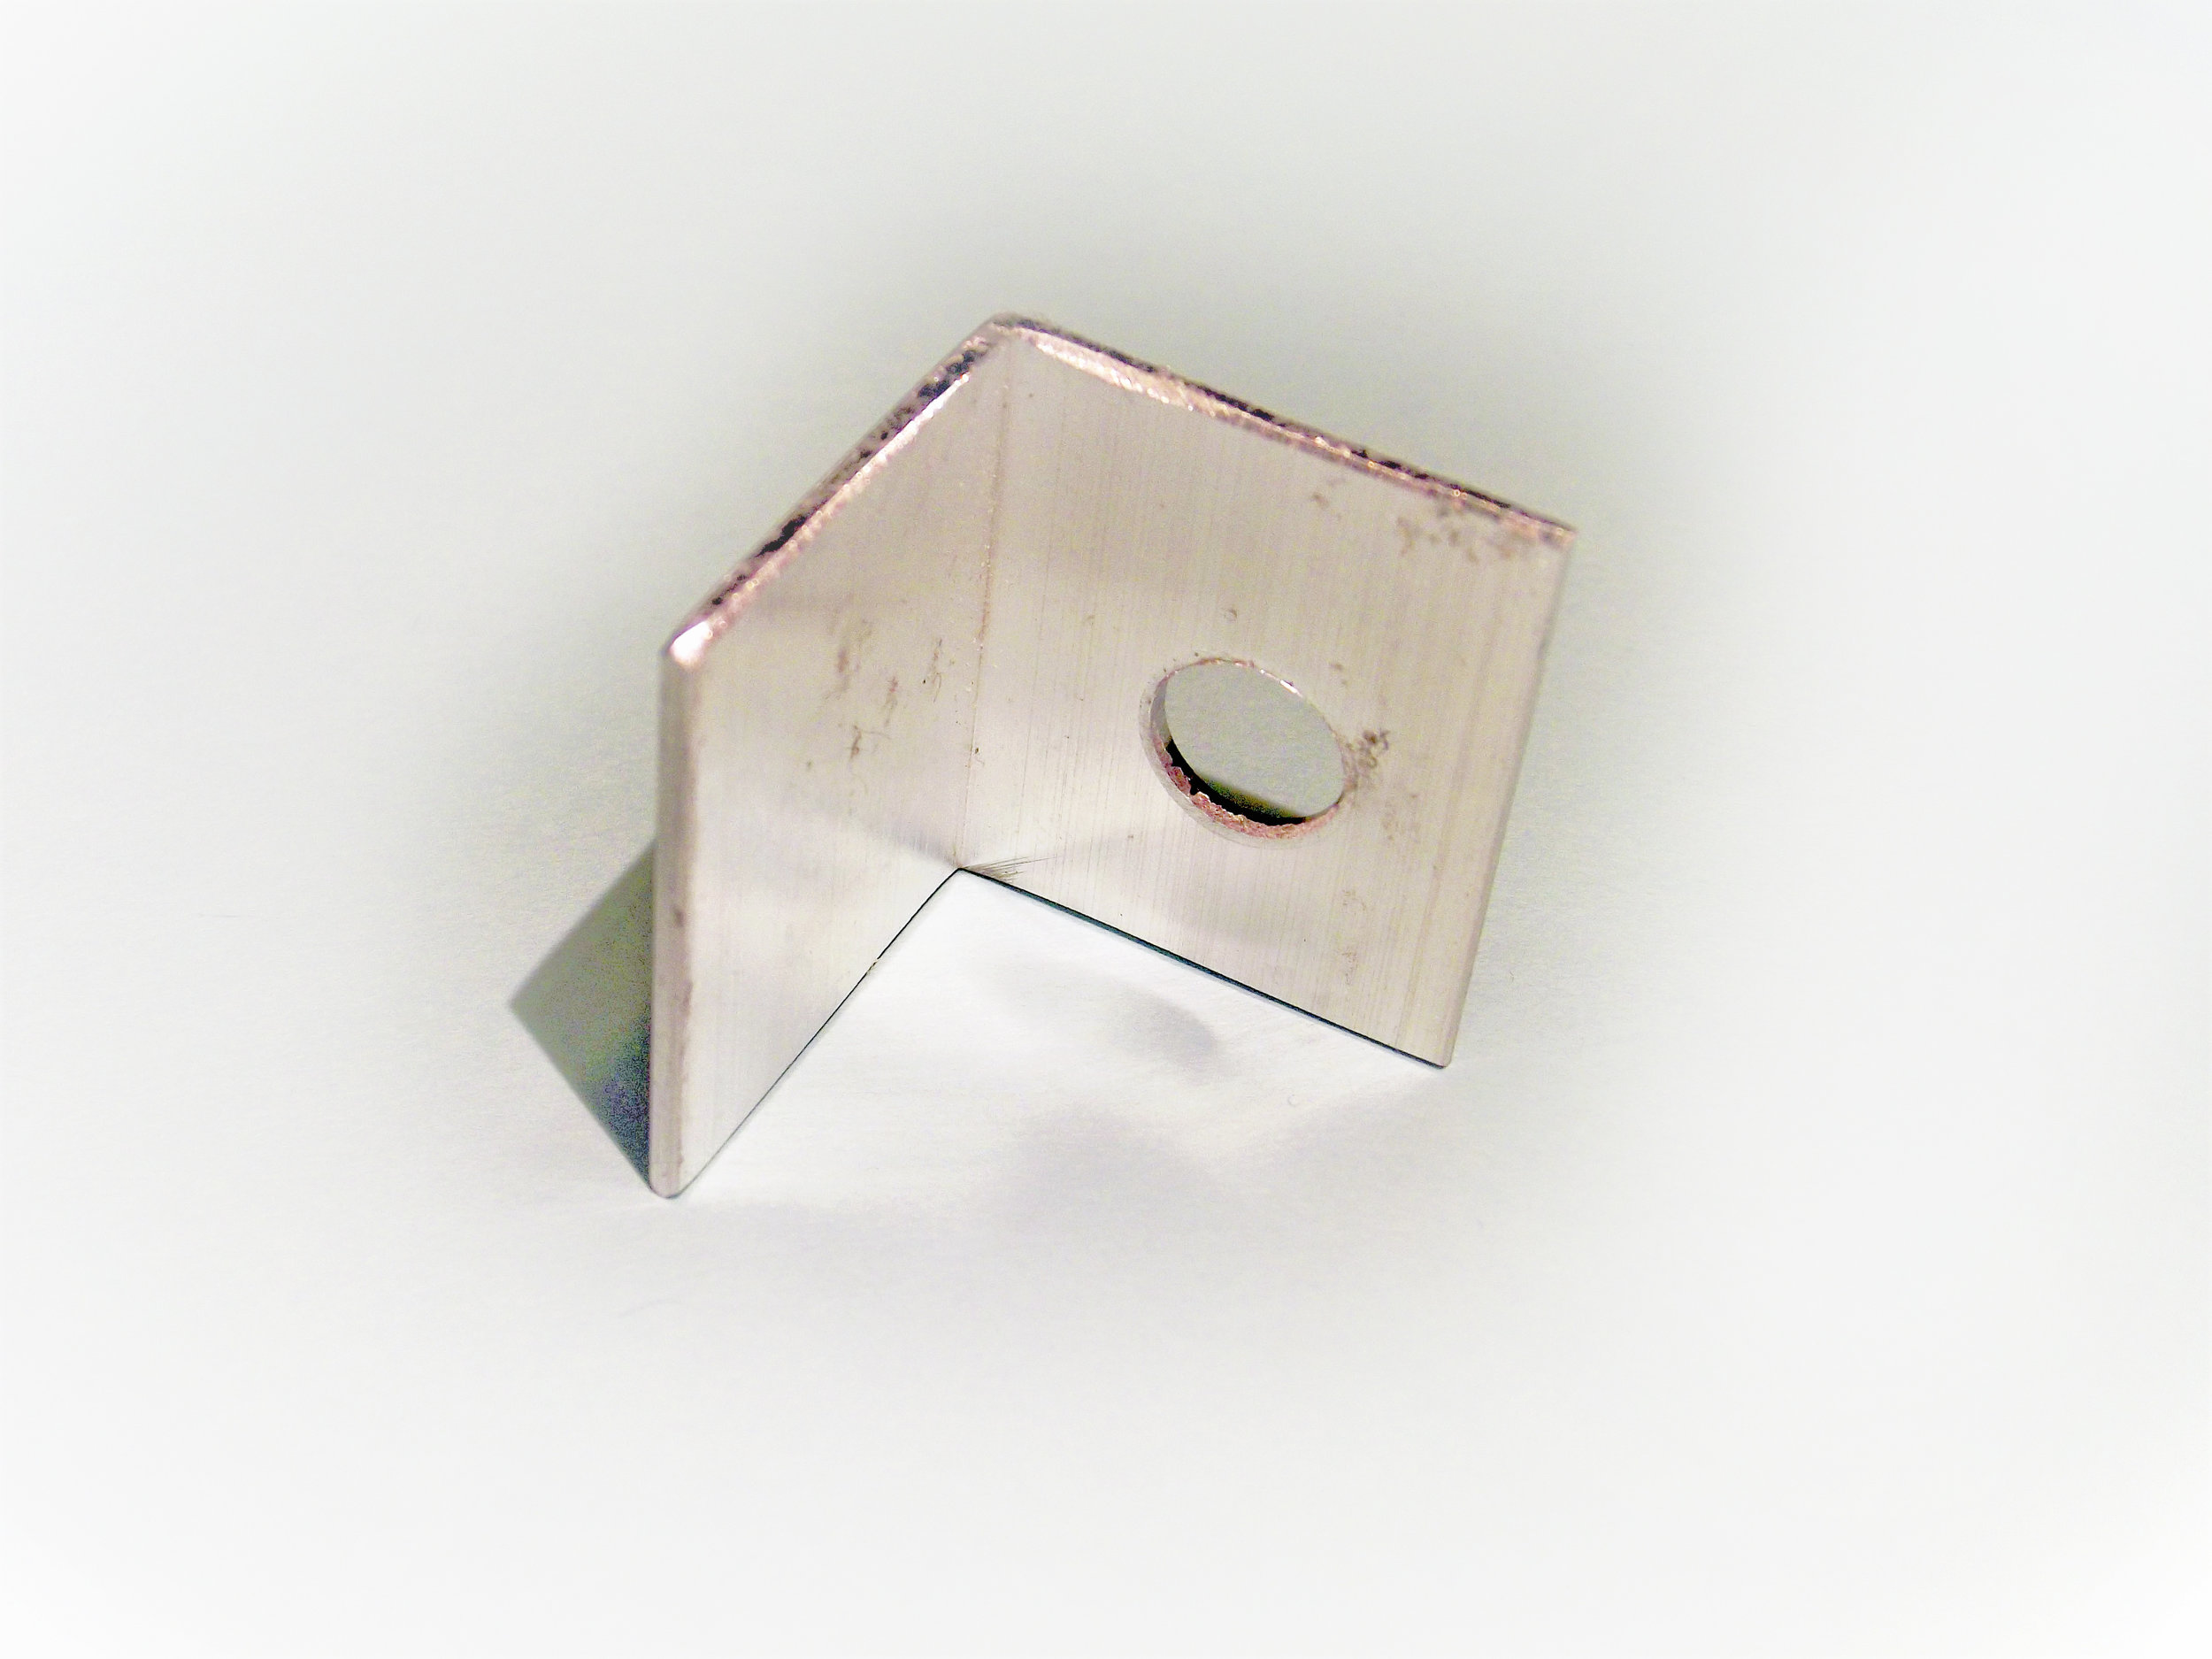
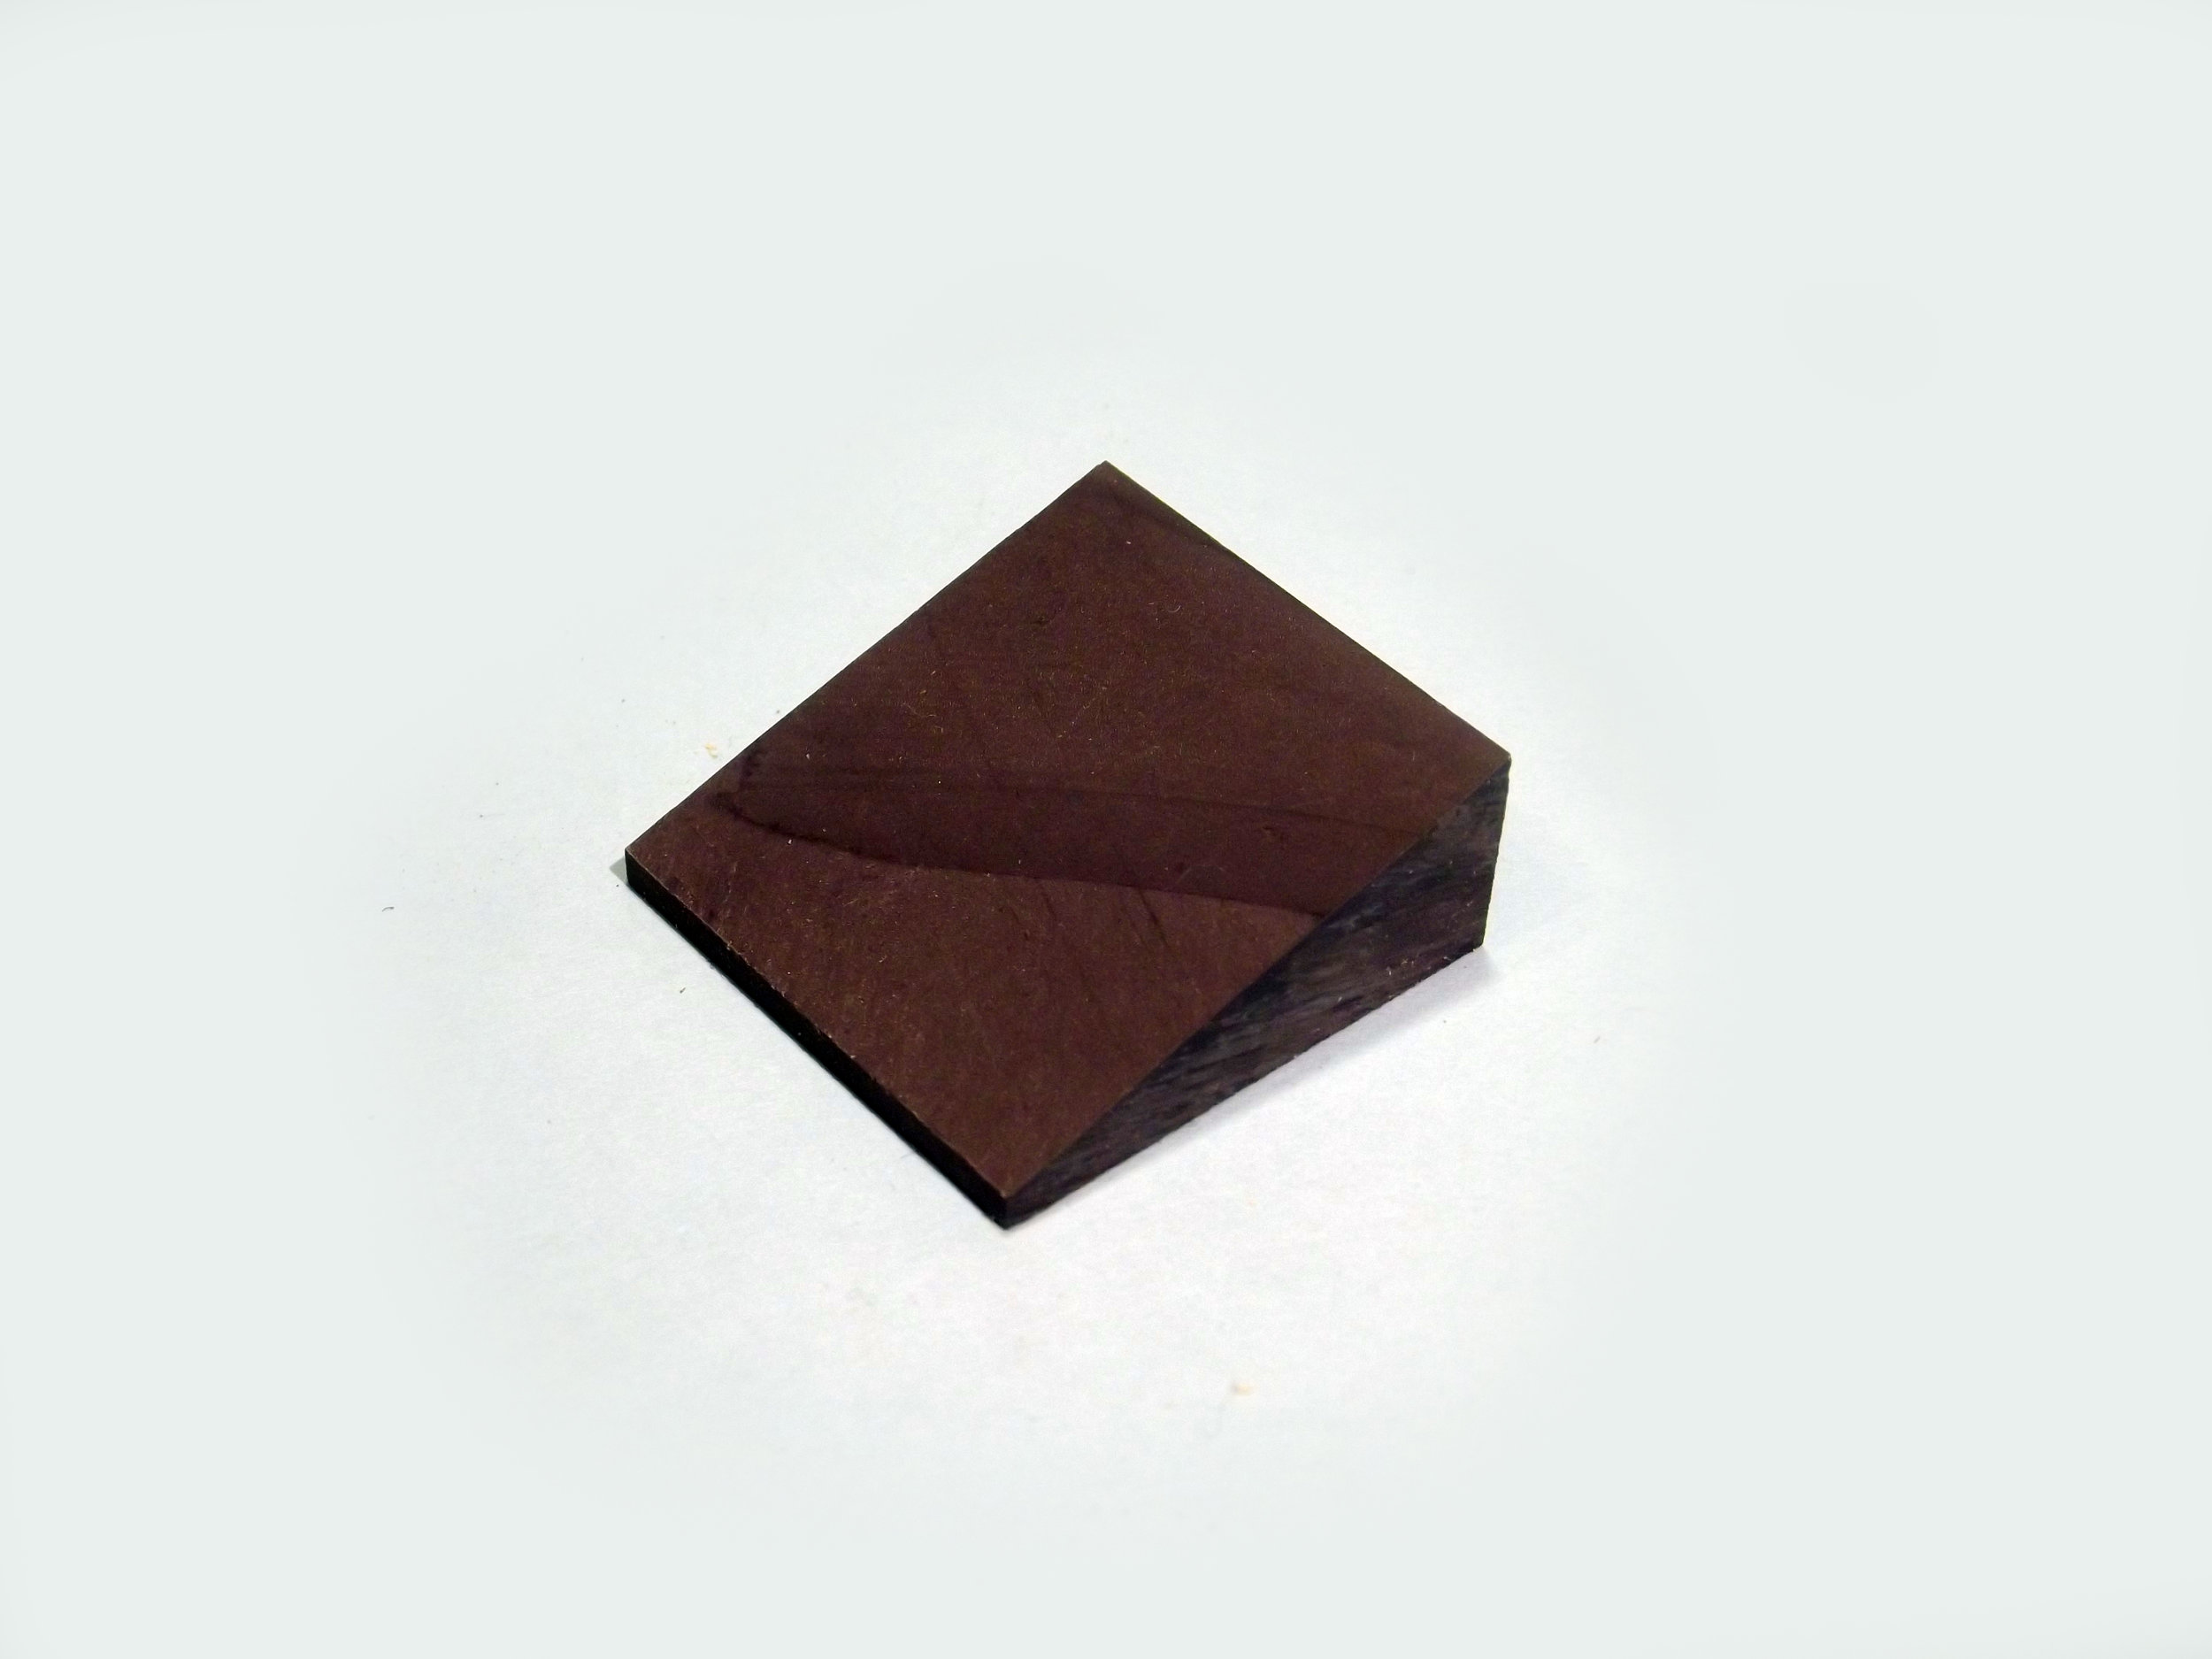
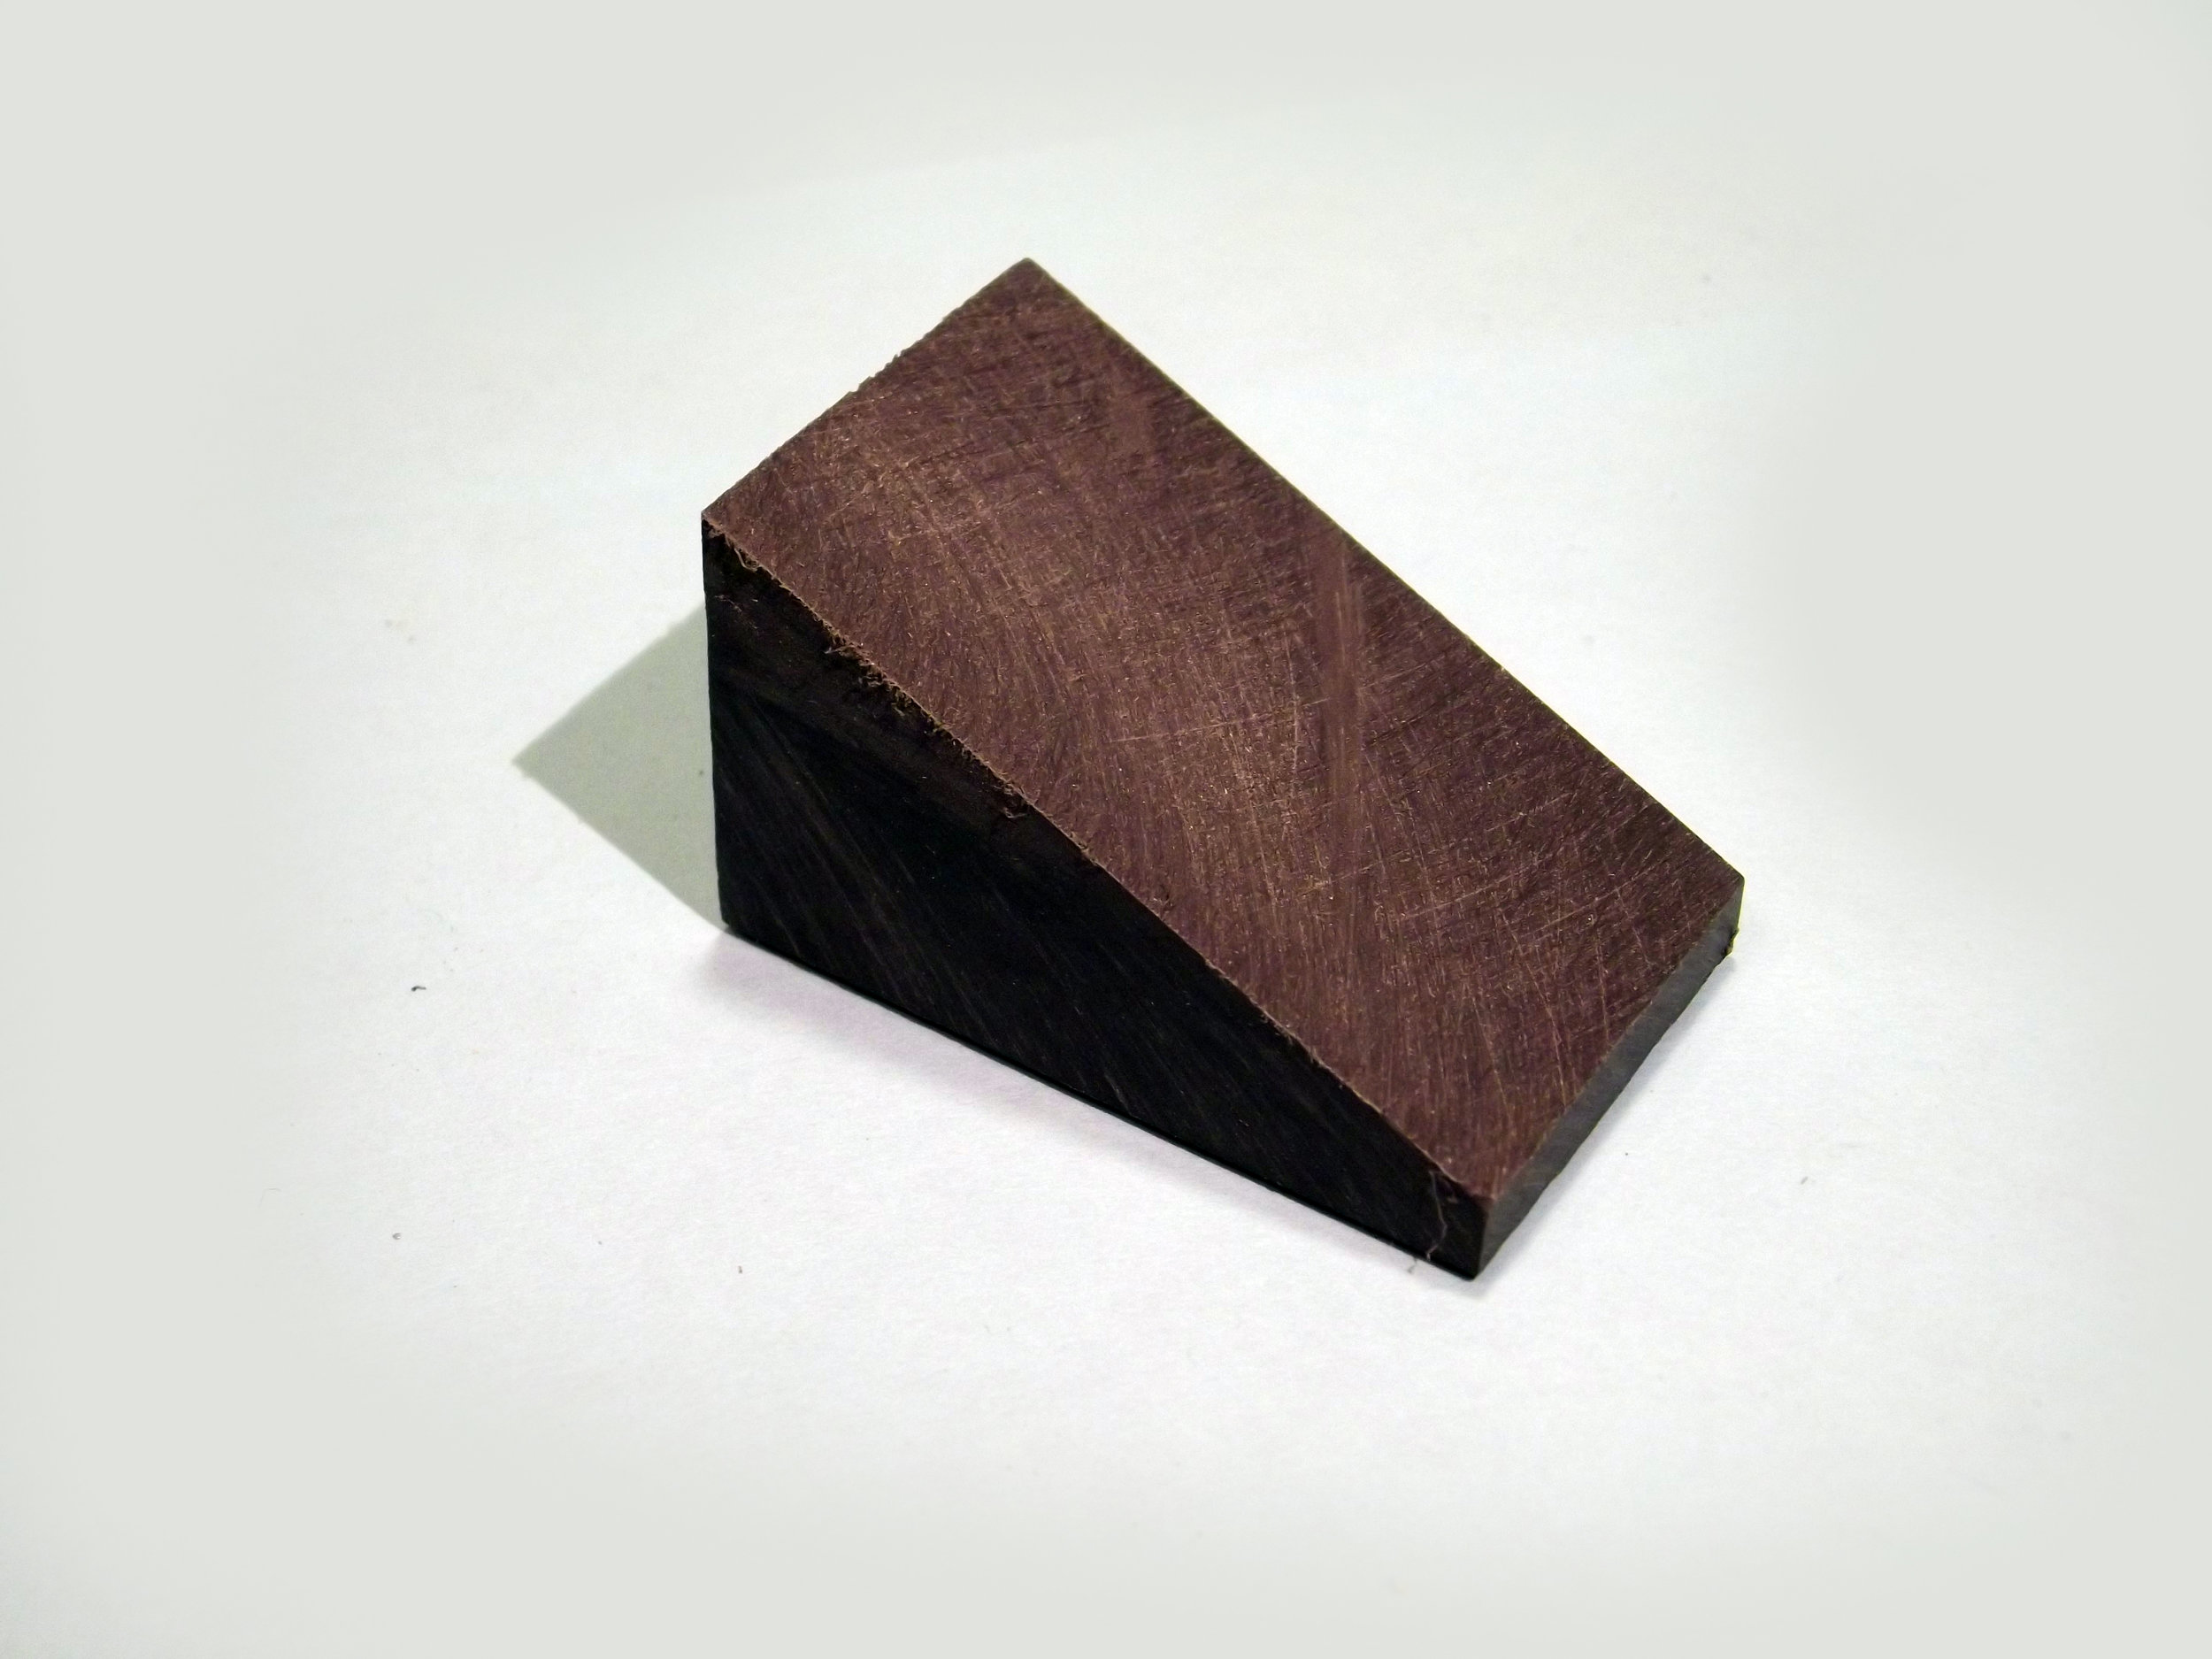
Review the saws listed below to determine how the Laserkerf will be mounted to your saw. Bracket information and photos of specific saw installations are located below. Additional information will be listed as soon as it is available on our web site.
The number of saws manufactured in the last 15 years is we have given various types of installations below. If you do not find a similar saw or are not sure if the Laserkerf will fit your saw, e-mail us and we will help you ensure a custom fit for your saw.
B&D
Model 3680 | Bracket B-2
Attached to the back of the black blade guard: First attach the B-2 bracket to the right side and the back of the black blade guard. Position the Laserkerf as high as possible on the the bracket. Similar to Dewalt 705.
Will not fit Model 1703 or 703-1
Black and Decker
Model 3608 | Bracket B-2
First attach the B-2 bracket to the right side and the back of the black blade guard. Position the Laserkerf as high as possible on the the bracket. Similar to Dewalt 705.
Bosch
Bosch Model 3912 & 3924 | Bracket B-2
First attach the B-2 bracket to the right side and the back of the black blade guard. Position the Laserkerf as high as possible on the the bracket. Similar to Dewalt 705.
Bosch Model 3915 | Bracket B-2
First attach the B-2 bracket to the right side and the back of the black blade guard.
Bosch Model 4212 | Bracket B-5
Attach the B-5 bracket to the left side of the saw as shown. If the dust chute is being used it must be moved
back as shown. Attach the Laserkerf to the bracket as high as possible on the bracket. The beam of the laser should be directly behind the blade.
To attach the chute make a bracket out of 1/16 AL with three holes in line spaced the same as the two holes in the chute. Place a screw thru the first hole into the right threaded hole. Place the second screw thru the right hole in the chute and the middle hole in the bracket in to the left threaded hole. Place a nut and bolt thru the left hole of the bracket and chute. Similar to Dewalt 708 Type 4 installation.
Bosch Model CM10GD and GCM12SD Axial-Glide | Bracket B-25
Bosch Model 4310, 4405, 4410, 4412, 5312, 5412L, GCM10S, Bracket W-1
Chicago
Chicago Model 41168 slider, 42818 slider | Bracket W-1 & B-8
Similar to Chicago 45885 installation. B-8 is added to make a flat surface on the bottom of the saw/saw carriage.
Chicago Model 45885 Slider | Bracket W-1 & B-11
Chicago Model 90861, 90891 | Bracket W-1
Installation Similar to the Makita LS1013
Chicago Model 42624 | Bracket B-16
The plastic chip chute may need to be removed.
The arm that moves the plastic blade guard should be removed and straightened. Add a 1/2" spacer between the guard arm and threaded hole. A longer bolt is needed to replace the original bolt. Attach the B-2 bracket to the left side and the back of the blade guard just above the rubber dust collector. Re-install guard arm. Position the Laserkerf at the top of the rubber guard. Align per installation instructions. Similar to the Sears 10" left mount installation.
Delta
Delta Model 33-830 RAS | No Bracket Needed
Delta Model 33-890 | Bracket B-14
Installation Similar to the Dewalt 770.
Delta Model 36-220 Type 1 Only | Call for More Information
Delta Model 36-230, 36-235 | Bracket B-16
Delta Model 36-240, 36-250 | Bracket W-1 & B-8
B-8 is added to make a flat surface on the bottom of the saw. Similar to Chicago 45885 Slider.
Delta Model 36-255 | Bracket B-16
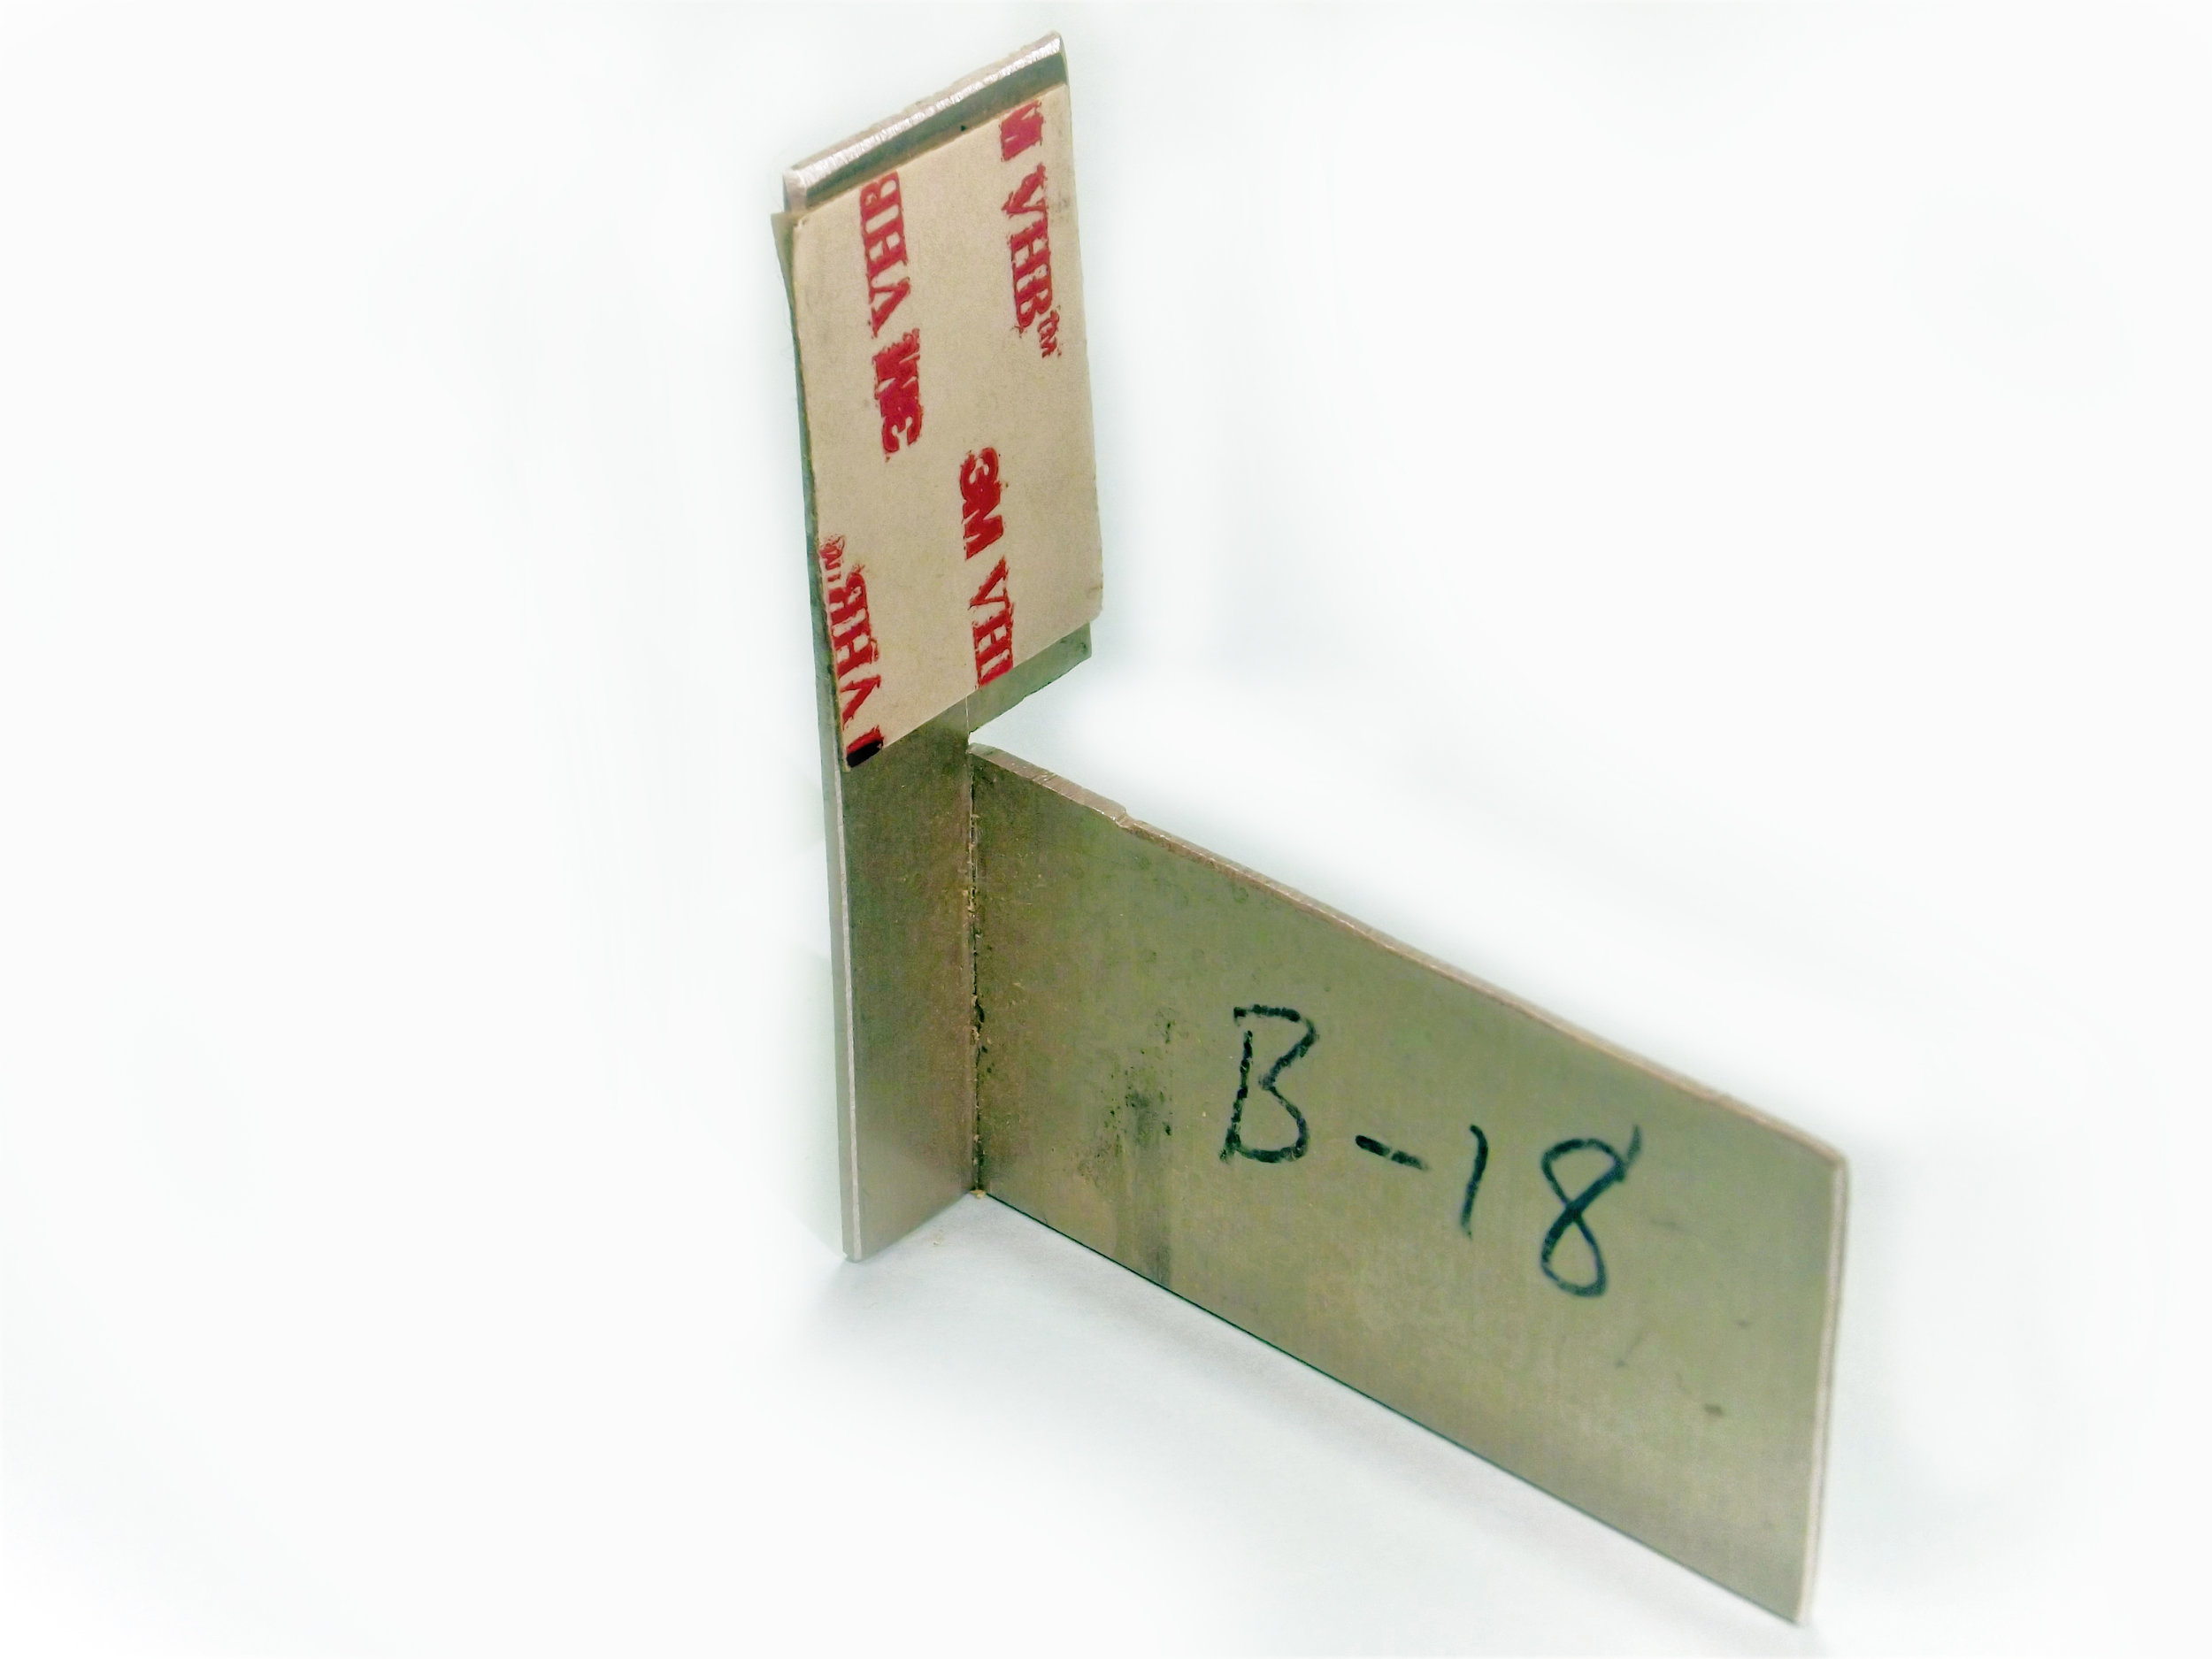
Delta Model 36-312, 36-412 | Bracket B-18
Delta Model MS 450 | Bracket B-18
Installation Similar to the Porter Cable 3802.
Delta RAS, RS 380, 12, 33-200, 33-201. 33-205, 33-215, 33-216, 33-230, 33-231, 33-830, 33-975 & C, 33-990 & C | Bracket B-15
Side Kick Back Mount: The B-15 bracket is attached to the kick back after the dogs have been removed. This should only be installed in this manner if the saw is no longer used to rip lumber. The Laserkerf is attached to the bracket.
Remove the kickback dogs from the kickback arm. Slide the B-15 bracket on to the threaded stud so that the side without a hole is to the left of the kickback. Use the nut from kickback to secure the bracket. Similar to the Sears Craftsman RAS side kickback installation.
Bracket B-14
The bracket is attached to the side of the upper blade guard next to the kick back.
Similar to the Dewalt 770
Delta RAS, Deluxe 105, Plus 10, Plus 105
Super 900, Super 990, Super 990-10
30C, 40C, 50C
33-061, 062, 063
33-071, 072, 073
33-081, 082, 083
33-267, 268
33-361, 62, 63
33-400, 01, 02, 03
33-410, 11, 12, 13
33-420, 21, 22, 23
33-760, 61, 62, 63, 64
33-371, 72, 73
33-381, 82, 83
33-770, 71, 72
33-780, 81, 82, 83, 84
33-790, 91, 92, 93
33-890, 91, 92, 93, 94, 95
Will not fit Delta Models 36-070, 36-075, 36-085, 36-090, 36-210, 36-220 type 2 and 3, 36-225, 36-585, MS 250, MS 275, SM100M
Dewalt
DeWalt 703 | Bracket B-9
Attached to the back of the black blade guard.
DeWalt 704, 705, 708, 715, 716 | Bracket B-2
Attached to the back of the black blade guard.
DeWalt 706 | No Bracket needed
DeWalt 708 | Bracket B-2
Attached to back of blade guard.
DeWalt 708 type 4 | Bracket B-5
DeWalt 712 | Bracket W-1
DeWalt 718 | Bracket B-20
DeWalt 770 Radial Arm Saw, 925, 1030, 1030K, RAS T-1810 | Bracket B-14
Will not fit DeWalt Models 700, 701, 707
Freud
Will not fit Freud Model TR2015
Hitachi
Hitachi Models C10FS, C10FSB, C12FSA | Bracket W-1
Hitachi Models C10FC, C10FC2 | Bracket B-5
Attached similar to the Rear mount 1
Hitachi Model C10FCD | Bracket B-16
Similar to Sears 10 left mount. The plastic chip chute may need to be removed.
Hitachi Models C12FDH. C12 LDH | No Bracket Needed
The laser mounts on the back of the lower blade guard.
Will not fit Hitachi Model C8FB2, C10FA, C10FBC, C10FCE2
Makita
Makita Model LS1000 | Bracket B-2
Attaches to the back of the blade guard about 1/2" from the bottom, similar to the Bosch 3915
Makita Model LS1011 | Bracket W-1 & B-8
Similar to Makita LS1013
Makita Model LS1013, LS1013F, LS711DWBEK | Bracket W-1
Makita Model LS1020 | Bracket B-2
Attached to the back of the blade guard, see rear mount 1.
Makita Model LS1030N & LS1040 | Bracket B-16
Has not been tried but appears to have sufficient room to mount.
Makita Model LS1211 | Bracket B-17 & W-1
Makita models LS1212, LS1214, LS1216 | Bracket W-4
Installation the same as Makita LS1013.
Makita LS1220, LS1221 | Bracket B-12
Installation similar to the Ridgid MS1250
Makita LS1430 & LS1440 | No Bracket Needed
Attach to the back of the black blade guard. Similar to Bosch 3915
Makita LS0714 | Bracket W-1
See horizontal way tube installation
Will not fit Makita Model LS1030 & 2430
Milwaukee
Milwaukee Model 6496 Slider | Bracket W-1
Attaches similar to the Makita LS1013.
Will not fit Milwaukee Models 6490, 6955-20
Protech
Protech Model CS72121 | No Bracket Needed
Protech Model 7208 | Bracket B-5
Attached to the back of the blade guard, see Rear mount 1.
Performance Power Pro
Performance Power Pro Model PP250MS | Bracket W-1
Attaches similar to the Makita 1013.
Porter-Cable
Porter Cable Model 3802 | Bracket B-16
Porter Cable 3807 | Bracket W-1 & B-8
Similar to Chicago 45885, B-8 is added to make a flat surface on the bottom of the saw.
Ridgid
Ridgid RS Model 1000 | Bracket B-3 or B-15
B-3 bracket is attached to the splitter or attach bracket B-15 in place of the kick back dogs.
Ridgid Model MS1050 & MS1060 | Bracket B-13
See additional installation images here.
Ridgid Model MS1250, MS1250-1, MS1250-2 | Bracket B-6
Ridgid Model MS1250LZ, R4121 | Bracket B-19
Similar to Sears 10 left mount below. The plastic chip chute may need to be removed.
Ridgid Model MS1290, 1290LZ, MS12900 | Bracket W-1
Will not fit Ridgid Model MS1065LZ.
Rockwell/
Delta RAS
Bracket: B-15
Side kick back mount - The B-15 bracket is attached to the kick back after the dogs have been removed. See link to the left. This should only be installed in this manner if the saw is no longer used to rip lumber. The Laserkerf is attached to the bracket.
Rockwell/Delta RAS Model:
RS380
12
33-200
33-201
33-205
33-215
33-216
33-230
33-231
33-830
33-975
33-975C
33-990
33-990C
Bracket B-14
Similar to Dewalt 770, the bracket is attached to the side of the upper blade guard next to the kick back. The Laserkerf is attached to the bracket.
Rockwell/Delta RAS Model:
Deluxe 105
Plus 10 & 105
Super 900, 990, 990-10
30C, 40C, 50C
33-061 through 33-063
33-071 through 33-073
33-081 through 33-083
33-267
33-268
33-285
33-361 through 33-363
33-400 through 33-403
33-410 through 33-413
33-420 through 33-423
33-760 through 33-764
33-371 through 33-373
33-381 through 33-383
33-770 through 33-772
33-780 through 33-784
33-790 through 33-793
33-890 through 33-895
Ryobi
Ryobi Model TS-254, TS-254DX | No Bracket Needed
Attach to the back of the black blade guard. Similar to the Sears 10" Left Mount Installation.
Ryobi Model TS1342, 1350, TS1352DXL | Bracket B-2
Attach to the back of the black blade guard. Similar to the Sears 10" Left Mount Installation.
Ryobi Model TS1550 | Bracket B-6
Ryobi Model TS1551DXL, TS1552DXL, TS1553DXL | Bracket B-16
Similar to Sears 10 left mount below. The plastic chip chute may need to be removed.
Ryobi Model 1830SC | Bracket W-1
Similar to Ridgid MS1290.
Will not fit Ryobi Model 260 & TS251U
Sears
Sears 8" Slider Model 113.234880, 113.234920, 113.234940 | Bracket W-1
See the horizontal way tube installation.
Sears 10" Miter Model 315.212100, 315.212040, 315.212110, 315.235380, 315.243000 | Bracket B-2
Sears 10" Miter Model 900.234811 | Call for Installation Information 859-494-0790
Attached to the back of the blade guard, see Rear mount.
Sears Miter Left Mount Model 113.235100, 113.235120, 113.235140, 113.235200, 113.235221, 113.235280, 137.212000, 137.242750,
137.245100, 137.242760, 137.285850, 137.285870, 137.285680, 315.212120, 315.212240, 315.23733 | Bracket B-16
Sears 12" Model 315.212220 | Bracket B-16
Sears 12" Slider Model 137.212060 & 137.212070 | Bracket W-1
Sears 12" Slider Model 21292 /137.212920 | No Bracket Needed
Sears Craftsman
Sears Craftsman Model 137.212940 | Call for Installation Information 859-494-0790
Sears Craftsman Model 113.235221 | Bracket B-13
See Ridgid MS1060 installation.
Will not fit Sears Craftsman Model 113.234600, 113.234630, 113.234633, 113.234651, 113.243680.
Sears Craftsman - Radial Arm
Sears Craftsman Radial Arm Saw Model 113.29460 & 113.29461 | Bracket B-21
The bracket attaches to the stud that supports the kick back.
Sears Craftsman Radial Arm Saw Model 113.29003, 13.29350, 113.29401, 113.29411,
113.29430, 113.29441, 113.29500, 113.29520 | Bracket B-14
Similar to Dewalt 770.
Sears Craftsman Radial Arm Saw Model 113.190060, 113.190600, 113.19760, 113.1977, 113.1977, 113.197110, 113.197150,
113.197250, 113.197601, 113197610, 113.197750, 113.197751, 113.198111, 113.199200, 113.199250, 113198251, 113.199300, 113.199410,
113.23100, 113.23110, 113.23301, 113.234700, 113.29410, 113.29510 | Bracket B-15
Side kick back mount - The B-15 bracket is attached to the kick back after the dogs have been removed. See link to the left. This should only be installed in this manner if the saw is no longer used to rip lumber. The Laserkerf is attached to the bracket.
Sears Craftsman Radial Arm Saw Model 113.196321, 113-196380, 113.196420, 113.196421, 113.198251, 113.198410, 315.220380,
315.220381 | Bracket B-3 or B-15
B-3 bracket is attached to the splitter.
Skill
Skill Model HD3812 | Bracket B-2
Similar to Dewalt 705
Skill Model 3810 | No Bracket Needed
Attaches to the back of the upper blade guard.
Will not fit Skill Model 3315.
Superior
Superior Model CMS12 | No Bracket Needed
Similar to the Dewalt 706.
Tool Shop
Tool Shop 12" Model J1Z-ZP-305 | Bracket B-2
Similar to the Dewalt 705.
Tradesman
Tradesman 8322 & 8329N | Bracket B-16
See Sears 10" left mount
Taskforce
Taskforce Model M3053LW & 2051LW | No Bracket Needed
Similar to the Dewalt 706
Wen
Wen Model 70711 | Bracket W-1
See the horizontal way tube installation.


